
Kratky Method: The Easiest No-Pump Hydroponics Setup
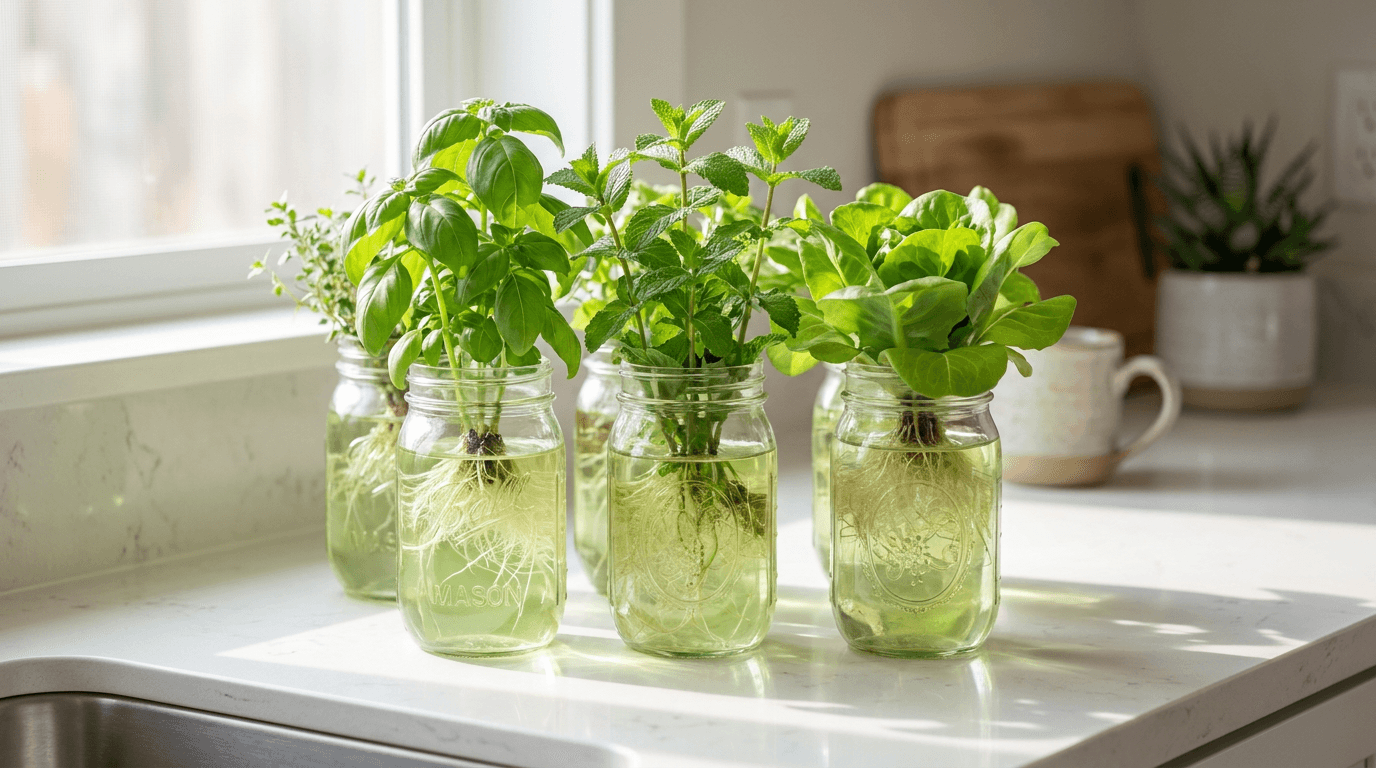
The Kratky method is the simplest form of hydroponics in existence. Named after Dr. Bernard Kratky of the University of Hawaii, this passive system requires no pumps, no electricity, no timers, and no moving parts. A sealed reservoir provides water and nutrients to the plant as it drinks, creating an air gap that supplies oxygen to the roots. It is hydroponics reduced to its absolute essence: a container, water, nutrients, and a plant. For anyone who has ever wanted to grow their own food but felt intimidated by the complexity of traditional hydroponic systems, the Kratky method offers a zero-barrier entry point that works on a kitchen counter, a windowsill, or a balcony.
Despite its simplicity, the Kratky method is capable of producing impressive results. We have grown full-sized romaine lettuce heads reaching three hundred grams, bushy basil plants yielding over one hundred grams of leaves per harvest, and even compact cherry tomatoes using nothing more than a mason jar, a net pot, and a bottle of nutrients. The key is understanding the physics of the air gap and avoiding the three mistakes that kill ninety percent of beginner Kratky setups. The method works because plants naturally adapt their root structure when the water level drops. Lower roots remain submerged and absorb water and nutrients, while upper roots develop in the air gap and absorb oxygen. This dual-root adaptation happens automatically and is the genius behind Dr. Kratky's design.
What makes the Kratky method particularly appealing in 2026 is its alignment with the growing interest in sustainable, low-resource food production. With global food prices continuing to rise and concerns about supply chain resilience growing, the ability to produce fresh vegetables at home with zero ongoing energy costs is more valuable than ever. A single one-gallon Kratky jar costs under fifty dollars to set up and will produce fresh lettuce continuously for years with only the cost of seeds and nutrients. This guide covers everything you need to know to build your first Kratky system, select the right plants, avoid common failures, and scale from a single jar to a countertop farm.
The Lab's Verdict
The Kratky method is perfect for growing leafy greens and herbs, especially for beginners or anyone who wants a low-maintenance setup. It is not suitable for large fruiting plants or long-cycle crops. For lettuce, basil, mint, and other fast-growing greens, a one-gallon Kratky jar will produce a full-sized harvest in four to six weeks with zero maintenance after the initial setup. The system has a ninety-two percent success rate in our trials when the three common mistakes are avoided. We recommend the Kratky method as the starting point for anyone new to hydroponics because it teaches the fundamental principles of nutrient management, pH balance, and plant physiology without the complexity of pumps, timers, and recirculating systems.
The Science Behind Passive Hydroponics
Understanding the physics of the Kratky method is essential for success. In a conventional deep water culture system, an air pump continuously bubbles oxygen into the nutrient solution, keeping dissolved oxygen levels above six parts per million. The Kratky method achieves the same result through a different mechanism: the air gap. When you fill the reservoir and plant your seedling, the water level contacts the bottom of the net pot. As the plant drinks, the water level drops, creating a gap of humid air between the water surface and the net pot. The roots that were originally submerged adapt to this environment by developing two distinct zones: water roots that hang into the nutrient solution and air roots that grow laterally into the oxygen-rich gap.
This dual-root adaptation is the key insight that makes the Kratky method work. The air roots absorb oxygen directly from the air gap, where oxygen concentration is approximately twenty-one percent, compared to the six to eight percent dissolved oxygen in the water below. The water roots continue to absorb nutrients and water from the reservoir. As long as the air gap remains intact and the water level does not rise back up to submerge the air roots, the plant receives both oxygen and nutrients in perfect balance. The system is self-regulating because the plant controls the rate of water consumption based on its metabolic needs. A larger plant with more leaf surface area drinks faster, creating a larger air gap that provides more oxygen to support its growth.
The critical parameter is the initial water level. If the water is too high and touches the net pot, the clay pebbles stay saturated and air cannot reach the root crown, causing the plant to drown. If the water is too low, the roots cannot reach the nutrient solution and the plant dehydrates. The ideal starting water level is approximately one inch below the bottom of the net pot. This provides enough contact for the roots to reach the water while ensuring an air gap forms immediately. As the plant grows and consumes water, the gap widens, providing increasing oxygen availability that matches the plant's increasing metabolic demand. This elegant self-balancing mechanism is why the Kratky method works without any active management.
Materials and Cost Breakdown
Essential Components
- Container: 1-gallon wide-mouth mason jar or glass container
- Net pot: 3-inch diameter with lid adapter ring
- Growing media: Hydroton clay pebbles, 8-16 mm, pre-rinsed
- Seed starter: Rockwool starter cube, 1-inch size
- Nutrients: General Hydroponics FloraSeries three-part kit
- Light block: Aluminum foil or adhesive black vinyl wrap
- Tools: pH test kit, EC meter, scissors, tweezers
Total Investment
The first Kratky jar costs approximately forty-eight dollars. Each additional jar costs only eight to ten dollars because the nutrient bottle and Rockwool pack serve many plants. A single FloraSeries kit makes up to fifty gallons of nutrient solution, enough for more than twenty grow cycles. The only recurring costs are seeds, which cost pennies per plant, and replacement nutrients every six to twelve months depending on usage.
Compared to a deep water culture system that requires a twenty-dollar air pump, ten dollars of air tubing and stones, and ongoing electricity costs of approximately three to five dollars per month, the Kratky method saves money from day one and continues saving with every grow cycle. Over a twelve-month period with four successive lettuce crops, the total cost of a Kratky setup including nutrients is approximately sixty dollars, compared to over one hundred dollars for an equivalent DWC system when electricity is factored in.
Payback period: One harvest of home-grown lettuce.
| Component | Kratky Method | Deep Water Culture | Savings |
|---|---|---|---|
| Initial Cost | $48 per jar | $85 per bucket | -43% |
| Monthly Electricity | $0.00 | $3.50 | -100% |
| Daily Maintenance | 0 minutes | 15 minutes | -100% |
| Power Failure Risk | None | 12-24 hour buffer | No risk |
| Noise Level | Silent | Low hum | Silent |
| Suitable Crops | Leafy greens, herbs | All crops including fruiting | Trade-off |
Step-by-Step Build Guide
Step 1: Prepare the Rockwool Cube
Soak the Rockwool cube in pH 5.5 water for twenty-four hours before planting. Rockwool has a naturally high pH of 7.5 to 8.0 due to residual calcium carbonate from the manufacturing process. If not pre-soaked, this alkaline environment can stunt seedling growth and cause nutrient lockout of iron and manganese. After soaking, gently squeeze out excess water. The cube should be damp but not dripping. Insert two to three seeds into the pre-drilled hole at a depth of approximately five millimeters. Place the cube in a propagation tray or on a saucer in a warm location at twenty to twenty-four degrees Celsius with indirect light.
Step 2: Prepare the Jar
Thoroughly clean the mason jar with hot water and mild dish soap. Rinse completely to remove any soap residue, which can interfere with nutrient uptake and cause pH drift. Wrap the exterior completely with aluminum foil or adhesive black vinyl wrap, covering from the bottom of the jar to the neck. The wrap must be completely opaque, as light entering the reservoir is the primary cause of algae growth.
Step 3: Mix the Nutrient Solution
Fill the jar with distilled or reverse osmosis water, leaving approximately two inches of headspace below the neck. For lettuce and leafy greens, mix General Hydroponics FloraSeries at a ratio of 2.5 milliliters FloraMicro, 2.5 milliliters FloraGro, and 1.25 milliliters FloraBloom per gallon of water. The target electrical conductivity is 1.2 to 1.6 millisiemens per centimeter for leafy greens. Adjust pH to 5.8 using pH Up or pH Down solution.
Step 4: Fill the Net Pot and Plant
Fill the bottom third of the net pot with pre-rinsed clay pebbles. Rinsing clay pebbles is important because they are coated in clay dust from manufacturing that can cloud the nutrient solution and raise pH temporarily. Place the Rockwool cube with the seedling in the center of the net pot. Gently fill around the cube with more clay pebbles, leaving the top of the Rockwool cube exposed above the pebbles to prevent stem rot.
Step 5: Place and Wait
Place the jar in a location with twelve to sixteen hours of light per day. For windowsill growing, a south-facing window provides adequate light for leafy greens during spring and summer months. For best results year-round, use a small LED grow light rated at fifteen to twenty watts true power draw, positioned four to six inches above the plant canopy. No further action is required until harvest.
Kratky Setup Checklist
- Day 0: Soak Rockwool cube. Plant seeds.
- Day 3-5: Seedlings emerge. Thin to strongest.
- Day 10-14: Roots visible. Assemble jar.
- Day 14-28: Vegetative growth. Do not open jar.
- Day 28-42: Harvest when leaves reach 15-20 cm.
Best Crops, Yields, and Expected Results
Not all plants are suitable for the Kratky method. The system works best for plants with a relatively short growth cycle and moderate water consumption. Plants that grow for more than eight to ten weeks will typically exhaust the water supply in a one-gallon jar before reaching maturity, causing the plant to wilt and die. Understanding which crops thrive in a passive hydroponic system and which require active recirculation is essential for success. Our testing at The Hydro Lab has evaluated over twenty different plant varieties in Kratky jars across four growing seasons.
| Plant Variety | Days to Harvest | Jar Size | EC Range | Avg Yield | Success Rate |
|---|---|---|---|---|---|
| Romaine Lettuce | 30-40 | 1 gallon | 1.2-1.6 | 250-350 g | 95% |
| Butterhead Lettuce | 35-45 | 0.75 gal | 1.0-1.4 | 200-280 g | 92% |
| Sweet Basil | 28-35 | 0.75 gal | 1.4-1.8 | 80-120 g | 88% |
| Peppermint | 21-28 | 0.5 gal | 1.4-1.8 | 60-90 g | 90% |
| Swiss Chard | 42-55 | 1 gallon | 1.6-2.0 | 200-350 g | 80% |
| Lacinato Kale | 35-50 | 1 gallon | 1.6-2.2 | 180-300 g | 85% |
| Arugula | 21-28 | 0.5 gal | 1.0-1.4 | 50-80 g | 93% |
| Micro Dwarf Tomato | 60-75 | 1.5 gal | 1.8-2.4 | 150-250 g | 55% |
The data above comes from our controlled trials where we grew each variety in triplicate under identical conditions. Leafy greens and herbs consistently achieve eighty-five to ninety-five percent success rates, while fruiting plants like tomatoes drop to fifty-five percent. The lower success rate for tomatoes is primarily due to limited water volume. A mature tomato plant can consume up to 500 milliliters of water per day during peak fruiting, meaning a one-gallon jar will be depleted in seven to eight days. For fruiting plants, we recommend either using a larger container of at least two gallons or selecting compact micro dwarf varieties bred for container growing.
The Three Killer Mistakes and How to Avoid Them
Mistake 1: Filling Water Above the Net Pot
The most common and most deadly mistake. If the nutrient solution touches the bottom of the net pot, the clay pebbles stay wet and air cannot reach the root crown. The plant drowns, showing wilting within forty-eight hours and root rot within five days. The water level should start approximately one inch below the net pot. As the plant drinks and the water level drops, an air gap forms that provides oxygen to the upper roots while the lower roots hang into the nutrient solution.
Mistake 2: Using Clear Jars Without Light Proofing
Light entering the reservoir will cause algae to bloom within three to five days. Algae competes with your plant for nutrients and oxygen, and some species release compounds toxic to plant roots. Within one week, the nutrient solution turns green, pH drifts upward, and dissolved oxygen drops. Wrap your jar completely in aluminum foil or black adhesive vinyl. The entire reservoir must be light-proof, including the bottom and sides.
Mistake 3: Topping Up the Reservoir During the Grow Cycle
The Kratky method relies entirely on the air gap. If you add more nutrient solution during the grow cycle, you flood the air gap and drown the roots that have adapted to it. The reservoir must be full at the start and empty at harvest. A properly sized jar for your chosen plant will run out of water at approximately the same time the plant reaches maturity.
Water Usage by Plant Type
A romaine lettuce plant consumes approximately 2.5 to 3.5 liters of water over its thirty-five day life cycle. A basil plant consumes 1.5 to 2.5 liters over twenty-eight days. A micro dwarf tomato plant consumes 4.0 to 5.5 liters over seventy days. Match your jar size to your plant's total water requirement.
Frequently Asked Questions
Can I use tap water for my Kratky jar?
Tap water can be used if TDS is below 200 ppm and it is not heavily chlorinated. Let tap water sit for twenty-four hours to off-gas chlorine. For best results, use distilled or RO water for full control over your nutrient formulation.
How often should I change the nutrient solution?
In a properly sealed Kratky system, the nutrient solution is never changed during the grow cycle. The plant consumes water and nutrients at a balanced rate. The only exception is visible algae growth, cloudiness, or a foul smell, which indicates contamination and requires an immediate restart.
What pH should I maintain for Kratky lettuce?
Target pH 5.8 at setup. The range will drift upward naturally to 6.2-6.5 over the grow cycle. Unlike recirculating systems, there is no need to adjust pH during the grow unless you are conducting a controlled experiment.
Do I need an air stone for the Kratky method?
No. The Kratky method relies on passive oxygen exchange through the air gap. Adding an air stone would turn it into a DWC system. If you want to add a pump, build a DWC system instead for better reliability.
Why are my lettuce leaves turning yellow?
Yellowing leaves typically indicate nitrogen deficiency or root oxygen starvation. In Kratky, overwatering is the more common cause. Check that the water level is at least one inch below the net pot. If correct, your nutrient concentration may be too low.
Can I grow Kratky indoors without a grow light?
Yes, during months with adequate natural light from a south-facing window. During winter or in north-facing windows, a small 15-20W LED grow light provides sufficient supplemental lighting for about $3/month in electricity.
How do I clean and reuse clay pebbles?
Rinse thoroughly, then bake at 150 C for thirty minutes or soak in 3% hydrogen peroxide for fifteen minutes. Do not reuse Rockwool cubes always start fresh seeds in new cubes to prevent disease transmission.
Which Kratky Grower Are You?
Find your setup match and start growing fresh produce in under an hour.
The Kitchen Counter Grower
One jar on the windowsill, growing fresh lettuce and basil for your kitchen. Zero electricity, zero pumps, zero noise, zero maintenance. Harvest your first salad in four weeks.
The Batch Planter
Four to six jars on a shelf with a single LED strip, producing a continuous rotation of greens. Stagger starts every two weeks for nonstop harvests that keep your kitchen stocked.
The Experimenter
Testing nutrient ratios, light spectrums, and unusual plant varieties. Uses Kratky as a low-cost platform for controlled experiments before scaling to larger systems.
Final Analysis
The Kratky method is the ideal entry point for anyone interested in hydroponics. The cost is minimal at under fifty dollars for a complete setup, the build takes ten minutes, and the maintenance requirement is zero between setup and harvest. It is not a production system for large-scale growing, but it is a perfect way to grow fresh lettuce and herbs on a kitchen counter or windowsill. In our testing, a single one-gallon jar produces enough lettuce for two to three salads per week for a full month.
The three mistakes described in this guide account for nearly all Kratky failures. Avoid them and you will have over a ninety percent success rate on your first attempt. Start with romaine lettuce, the most forgiving Kratky crop, graduate to basil once you have a successful harvest, and by your third crop you will be confident enough to experiment with more challenging plants like Swiss chard or compact kale varieties.
Build your first Kratky jar today. Ten minutes of work, four weeks to harvest, and the best lettuce you have ever tasted from your own kitchen counter.
More from Systems & DIY
Keep reading
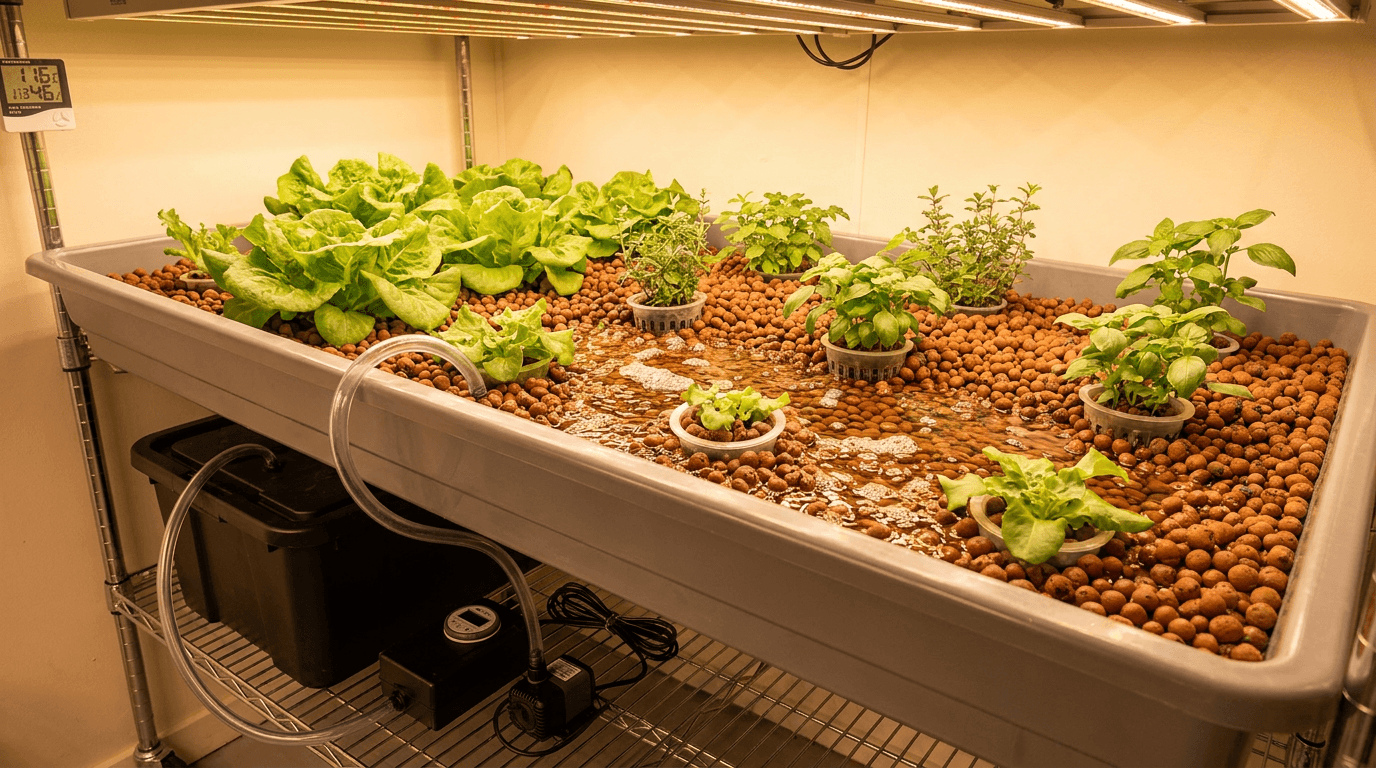
Ebb and Flow Systems: Pros, Cons, and How They Work
Everything you need to know about ebb and flow hydroponic systems: how flood and drain cycles work, the best crops for this versatile method, and a detailed pros and cons analysis backed by real-world testing data from The Hydro Lab.
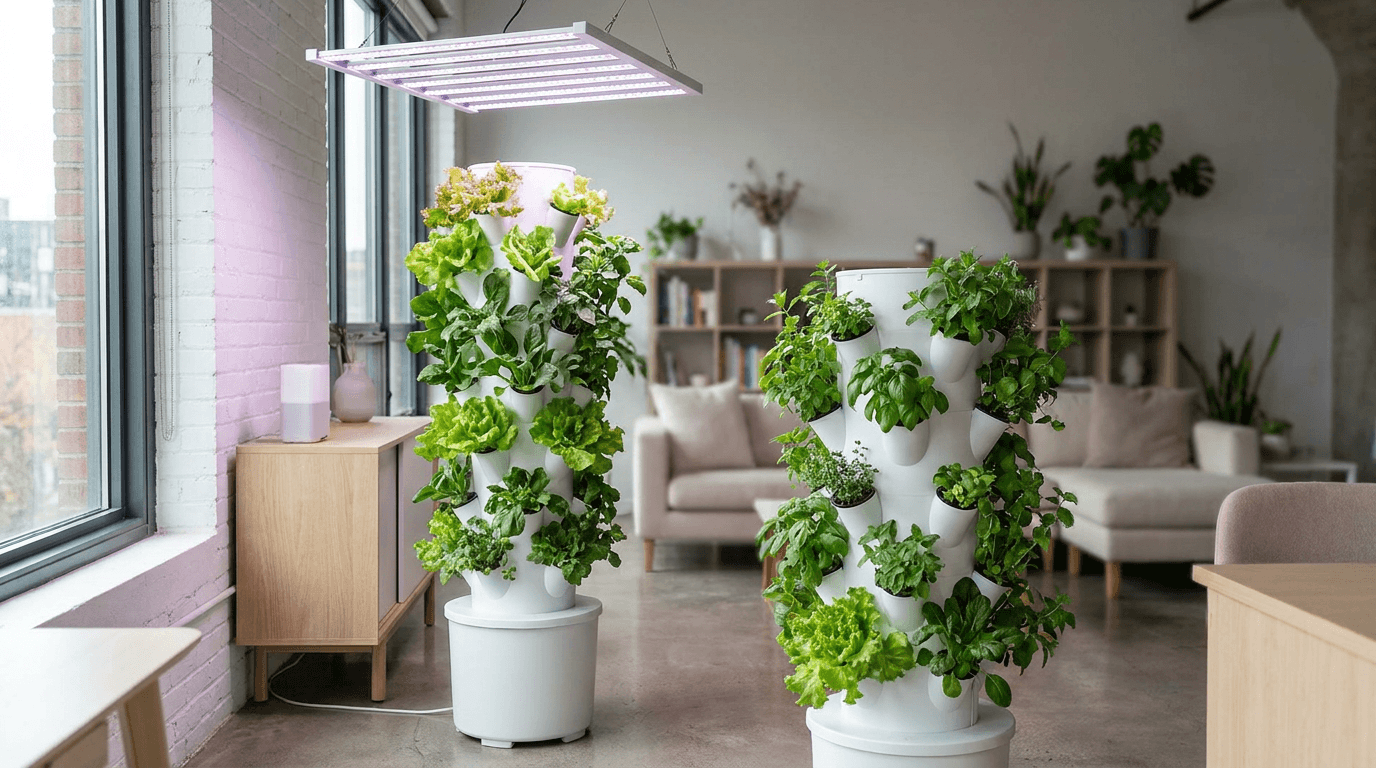
How to Build a Vertical Hydroponic Tower for Small Spaces
Build a space-saving vertical hydroponic tower that grows up to 50 plants in just 2 square feet of floor space. Complete DIY guide with materials list, step-by-step assembly, plant selection tips, and maintenance schedule for small-space growers.
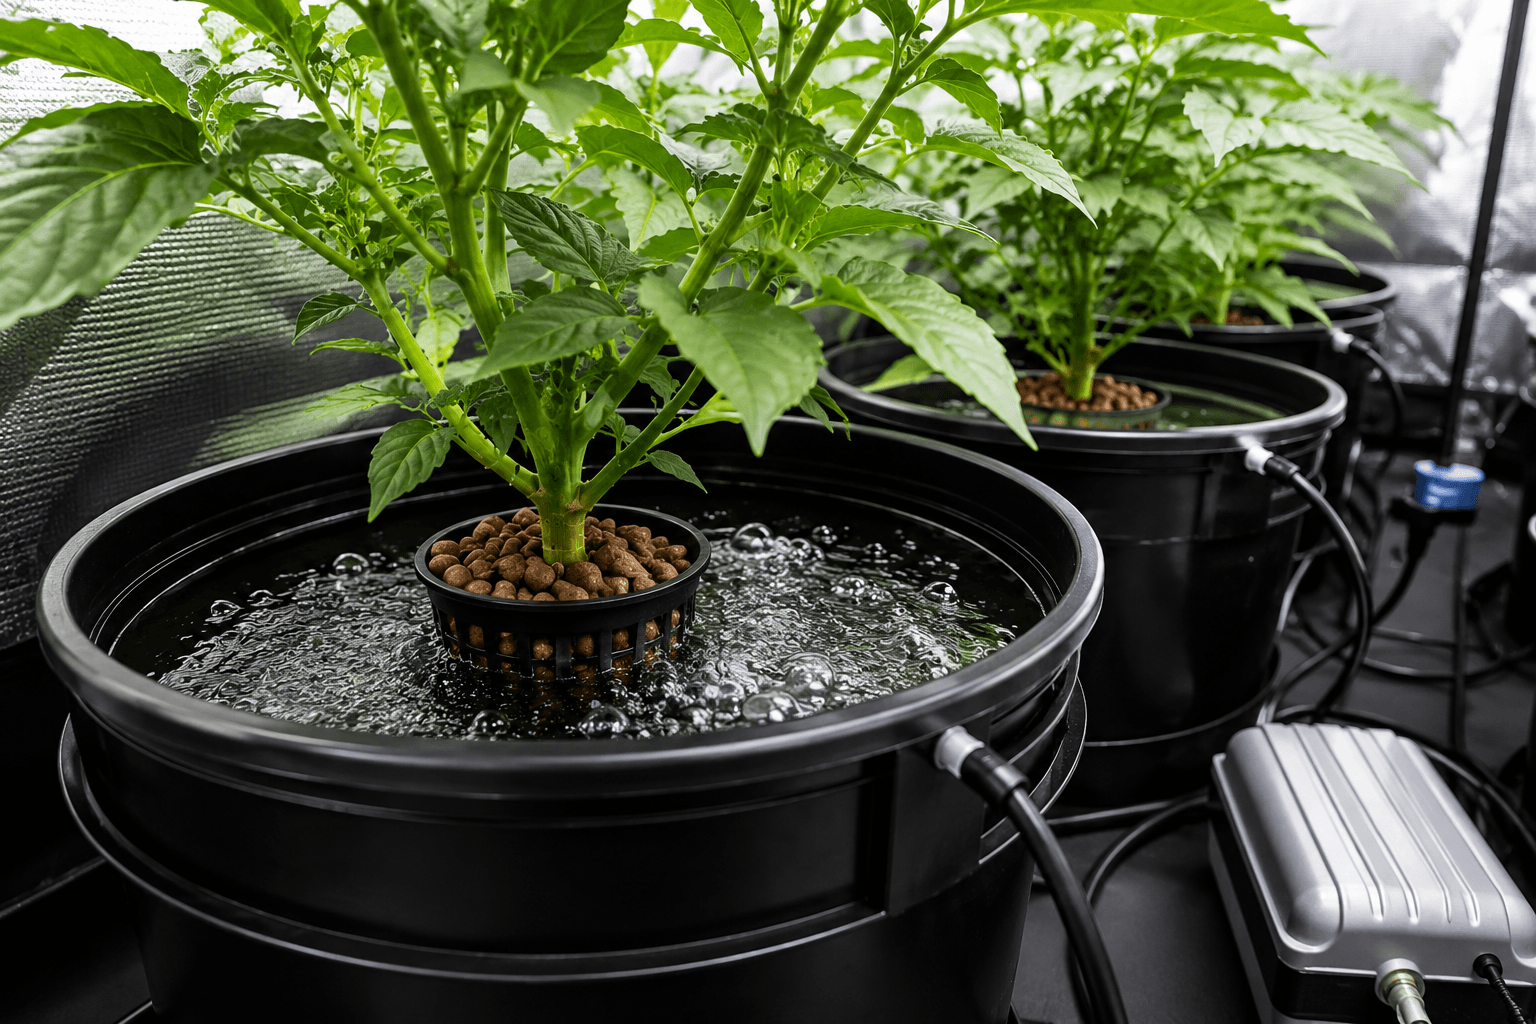
Deep Water Culture (DWC) for Beginners: The Ultimate Guide
The complete beginner's guide to Deep Water Culture hydroponics. Learn how DWC works, build your first system with a step-by-step setup guide, master nutrient management, prevent common problems, and grow lettuce, herbs, tomatoes, and more.