
How to Build a Vertical Hydroponic Tower for Small Spaces
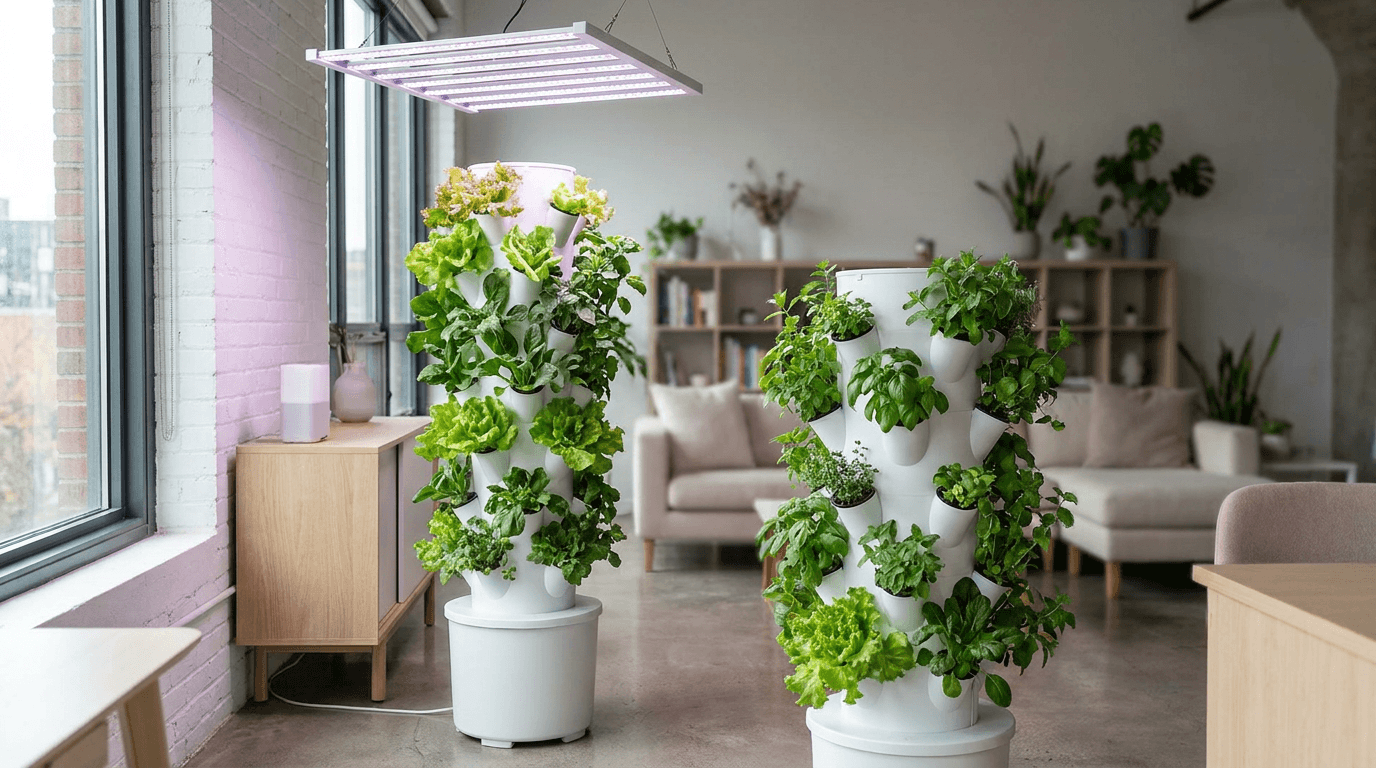
Vertical hydroponic towers are the most space-efficient growing systems available to urban gardeners. By stacking planting sites vertically around a central column, a well-designed tower can support thirty to fifty mature plants in the same floor space that a single DWC bucket occupies. For apartment dwellers, balcony gardeners, and anyone with more vertical than horizontal space, a hydroponic tower transforms an unused corner into a productive food garden capable of supplying fresh lettuce, herbs, and leafy greens year-round.
The concept is elegantly simple: nutrient solution is pumped to the top of a vertical column and distributed through a network of watering rings or drip emitters to each planting pocket. The solution flows down through the growing media in each pocket, past the root systems, and collects at the base of the tower, where it drains back to a reservoir for recirculation. The plants grow outward from the tower in all directions, creating a cylindrical wall of foliage that maximizes light exposure and growing area. A four-foot-tall tower with a twelve-inch diameter can provide over twelve square feet of growing surface while occupying less than one square foot of floor space.
Vertical towers are not a new innovation. Commercial vertical farming operations have used tower systems for decades to maximize production per square meter. However, the recent availability of affordable PVC pipe, low-cost submersible pumps, and purpose-built net pot cups has made DIY tower construction accessible to home growers. The total materials cost for a complete tower system that holds thirty-six plants is approximately eighty to one hundred and twenty dollars, making it one of the most cost-per-plant efficient hydroponic systems you can build. This guide provides a complete walkthrough for building a vertical hydroponic tower, selecting the right crops, and maintaining the system for continuous year-round production.
The Lab's Verdict
Vertical hydroponic towers are the best option for growers with severe space constraints who want to maximize plant count per square foot. A four-foot tower with thirty-six planting sites can produce two to three pounds of leafy greens per harvest cycle, equivalent to a four-by-four-foot horizontal grow bed in a fraction of the space. The system is well suited for lettuce, leafy greens, herbs, and strawberries, but is not ideal for large fruiting plants due to limited root volume in each planting pocket. In our trials, the top-performing tower configuration achieved a harvest density of 18.5 plants per square foot of floor space, compared to 2.3 plants per square foot for a standard NFT channel system.
Design Principles and Materials Selection
A successful vertical tower design balances three competing requirements: structural stability, even water distribution, and adequate root volume per planting site. The tower must be rigid enough to support the weight of fully saturated growing media, which can add twenty to thirty pounds per vertical foot of tower height. The water distribution system must deliver an equal volume of nutrient solution to every planting pocket. And each planting pocket must provide sufficient root volume typically two to four inches of growing media depth to support healthy plant development through the full growth cycle.
The most reliable design for home construction uses four-inch diameter PVC schedule 40 pipe as the central column. Four-inch pipe provides adequate internal space for the water supply tube and allows the column to serve as the main structural element. Planting pockets are created by cutting two-inch diameter holes in the pipe wall at regular intervals, spaced six to eight inches apart vertically and offset by ninety degrees around the circumference. This staggered spiral pattern ensures that upper plants do not shade lower ones and that the weight is distributed evenly. For a standard four-foot tower, this pattern produces approximately thirty-six planting sites arranged in nine rows of four pockets each.
The water distribution system is the most critical design element. A simple drip ring at the top can result in uneven flow, with the first pocket receiving most of the water and lower pockets receiving progressively less. Our testing found that a dual-ring distribution system with adjustable drip emitters solves this problem. A primary distribution ring at the top feeds four main drip lines that run vertically down the outside of the column. Each vertical line has adjustable drip emitters at each row of planting pockets. A secondary ring at the midpoint provides backup water supply to lower pockets if the primary flow is insufficient. The total pump flow rate should be 200 to 300 GPH to ensure adequate pressure for all emitters.
Materials List (36-Pocket Tower)
- $15 4-inch PVC pipe, 4 ft (schedule 40)
- $8 PVC end cap and base flange
- $12 36 net pot cups, 2-inch
- $25 Submersible pump, 250 GPH
- $10 1/4-inch drip tubing and fittings
- $8 8 adjustable drip emitters
- $12 Clay pebbles (8 liters)
- $10 5-gallon reservoir with lid
- $5 Rockwool starter cubes (36-pack)
Total Cost Estimate
The complete tower costs approximately one hundred and five dollars, or roughly three dollars per planting site. This is significantly cheaper per plant than individual Kratky jars at twelve dollars per jar. The only specialized tool required is a 2-inch hole saw attachment for a drill. A single tower can produce over thirty plants per cycle with a 4-6 week cycle time for leafy greens.
Annual seed cost: approximately fifteen cents per plant for lettuce seeds, totaling roughly thirty-six dollars per year for continuous production. Nutrient cost: approximately forty dollars per year using General Hydroponics FloraSeries at recommended rates.
Step-by-Step Tower Construction
Step 1: Mark and Cut the Planting Holes
Begin by marking hole positions on the PVC column. Using a measuring tape and marker, draw a vertical line down the pipe. Starting three inches from the top, mark hole centers every six inches for a total of nine marks. Rotate the pipe ninety degrees and repeat, offsetting the first hole by three inches so the rows form a staggered spiral. Continue until you have four vertical rows of nine holes each. Drill each hole using a 2-inch hole saw. Cut slowly to prevent the PVC from melting. Sand the edges smooth to prevent damage to plant stems.
Step 2: Install the Base and Support
Attach the PVC end cap to the bottom using PVC primer and cement. Drill a 1-inch hole in the center of the cap for the drain return line. Attach a PVC flange to a wooden base plate at least eighteen inches square to prevent tipping. A full tower with saturated media can weigh over fifty pounds and becomes top-heavy as plants grow. We recommend a 12-inch diameter weighted pot base filled with sand for additional stability, especially outdoors.
Step 3: Install the Water Distribution System
Run a 1/2-inch main supply tube from the pump up through the center of the column to the top. Connect a 1/4-inch distribution ring around the top of the column. From this ring, run four vertical 1/4-inch drip lines down the outside, one aligned with each row of planting pockets. At each pocket, insert an adjustable drip emitter positioned to drip directly into the net pot. Install a secondary ring at the midpoint, connected via a T-fitting, to provide backup flow to lower pockets.
Step 4: Fill and Plant
Fill each net pot cup with pre-rinsed clay pebbles to three-quarters full. Clay pebbles are preferred for towers because they are lightweight, drain rapidly, and provide excellent air porosity. Start seedlings in Rockwool cubes 2-3 weeks before transplant. To plant, place the cube into the partially filled net pot, then add more pebbles around it. The cube should be level with the cup rim. Insert each filled cup into its planting hole it should fit snugly.
Step 5: Set Up the Reservoir
Place a 5-gallon reservoir below the tower drain. Fill with nutrient solution at EC 1.2-1.6 and pH 5.8 for leafy greens. Connect the pump to the supply tube. Set a timer for 15 minutes every 2-3 hours during the light cycle. Start the pump and verify all emitters are flowing. Adjust individual emitters to achieve 2-4 mL per second from each. The ideal flow saturates the media and produces runoff within 2-3 minutes of startup.
Tower Assembly Checklist
- 1. Cut 36 holes in staggered spiral pattern using 2-inch hole saw
- 2. Seal bottom with PVC end cap, drill 1-inch drain hole
- 3. Mount tower on weighted base plate for stability
- 4. Run supply tube up center column, install dual distribution rings
- 5. Connect 4 vertical drip lines with adjustable emitters at each pocket
- 6. Fill net pots with clay pebbles, transplant seedlings
- 7. Connect reservoir pump, set timer for 15 min every 2-3 hours
- 8. Test flow, adjust emitters for uniform distribution
Plant Selection, Spacing, and Succession Planning
Plant selection is the most common source of failure in vertical tower systems. The limited root volume in each pocket restricts the size of plants that can reach maturity. Plants with aggressive root systems like tomatoes, peppers, and squash will become root-bound and fail. Ideal crops are shallow-rooted, fast-growing plants that complete their life cycle in 4-8 weeks. Leafy greens, herbs, and compact fruiting plants like strawberries are top performers.
Spacing determines both plant count and final plant size. Six-inch spacing produces more plants but smaller individual heads. Eight-inch spacing produces fewer but larger plants. For lettuce and leafy greens, six-inch spacing is optimal. For herbs harvested repeatedly, 8-inch spacing allows regrowth. For strawberries, 10-inch spacing accommodates runners. Staggered planting in the spiral pattern ensures each plant receives adequate light from at least one direction.
| Plant Variety | Performance | Days to Harvest | Spacing | Per-Pocket Yield | Total Tower Yield |
|---|---|---|---|---|---|
| Butterhead Lettuce | Excellent | 35-45 | 6 in | 150-200 g | 5.4-7.2 kg |
| Romaine Lettuce | Excellent | 40-50 | 6 in | 200-300 g | 7.2-10.8 kg |
| Sweet Basil | Excellent | 28-35 | 8 in | 60-100 g | 1.8-3.0 kg |
| Mint | Excellent | 21-28 | 8 in | 50-80 g | 1.5-2.4 kg |
| Swiss Chard | Very Good | 45-60 | 8 in | 150-250 g | 3.6-6.0 kg |
| Strawberries | Good | 60-80 | 10 in | 100-150 g | 1.6-2.4 kg |
| Dwarf Kale | Very Good | 40-55 | 8 in | 120-200 g | 2.9-4.8 kg |
| Cherry Tomato | Poor | 65-85 | N/A | N/A | N/A |
Succession planting is key to continuous harvests. Rather than harvesting all 36 plants at once, plant 12 pockets per week for three consecutive weeks, then harvest 12 per week starting in week 5-6. Maintain a nursery of seedlings at different growth stages and transplant into vacated pockets. This staggered approach provides continuous fresh produce while maintaining consistent nutrient demand on the system. A weekly schedule of 12 plantings and 12 harvests keeps the tower at steady-state production.
Maintenance, Troubleshooting, and Optimization
Vertical tower systems require more maintenance than simpler hydroponic methods due to higher plant density and the complexity of the drip distribution system. Primary tasks include cleaning drip emitters, monitoring pH and EC, and preventing algae growth in the exposed planting pockets. Emitter clogging is the most common mechanical issue, caused by mineral salt buildup or fine media particles. Using a pre-filter on the pump intake and flushing the drip system with clean water once per month prevents most clogging issues. Individual emitters can be disassembled and cleaned with a toothbrush or replaced for fifty cents each.
Algae management is more challenging in towers because each planting pocket has an exposed media surface. Algae on the clay pebbles is primarily cosmetic but indicates the media surface is staying too wet. Reduce watering frequency to allow the surface to dry between cycles. If algae becomes excessive, cover each net pot with a 2-inch layer of coarse gravel or a light-proof plastic disc cut to fit around the plant stem. This blocks light while allowing water to flow through gaps.
Nutrient management follows standard recirculating principles but with one difference: high plant density means faster depletion. A 36-plant tower of mature lettuce can consume one gallon of water per day and deplete EC by 0.3-0.5 mS/cm daily. Check the reservoir daily and top off with pH-adjusted water. We recommend a complete reservoir change every 5-7 days during peak production, compared to 7-10 days for lower density systems. Adding 50% strength nutrient solution to top-off water rather than plain water helps maintain stable EC between changes.
Common Problems and Solutions
- Uneven growth: Increase drip flow to lower pockets or install midpoint distribution ring.
- Clogged emitters: Install pump pre-filter, flush system monthly, replace clogged emitters.
- Algae on media: Reduce watering frequency, cover pockets with plastic discs.
- Root rot: Reduce watering duration, increase drain intervals, improve reservoir aeration.
- Nutrient deficiency: Increase EC, verify pH, check for clogged emitters on affected pockets.
- Tower tipping: Add weight to base, secure tower to wall or support frame.
Tower Maintenance Schedule
- Daily: Verify all emitters flowing. Check pH/EC. Top off reservoir.
- Daily: Inspect plants for pests, yellowing, wilting. Remove dead leaves.
- Weekly: Clean pump pre-filter. Flush drip lines 10 min with clean water.
- Weekly: Rotate tower 1/4 turn for even light distribution.
- Biweekly: Complete reservoir change. Scrub with mild bleach solution.
- Monthly: Disassemble and clean all drip emitters. Calibrate meters.
- Quarterly: Inspect PVC column for cracks. Replace drip tubing if brittle.
Lighting and Environmental Considerations
Lighting a vertical tower presents unique challenges. Because plants grow outward in all directions, a single overhead light cannot adequately illuminate all sides. The top receives the most light while lower sides receive significantly less, causing uneven growth. The solution is multiple light sources or regular rotation. For indoor towers, use four linear LED grow light strips mounted vertically on each cardinal side, or two panel lights on opposite sides. Each light should provide at least 200 PPFD at the canopy for leafy greens.
Rotating the tower is a simple alternative. By rotating one-quarter turn each day, every plant receives direct light for at least six hours. This produces acceptably uniform growth for leafy greens and herbs. We use a lazy Susan bearing mounted between the tower base and support platform for effortless rotation. For automated rotation, a slow motor can continuously rotate the tower at one revolution per 24 hours, ensuring perfectly even light distribution without manual intervention.
The vertical orientation affects airflow and humidity differently than flat systems. The dense foliage canopy can create microclimates of high humidity, especially in lower pockets where airflow is most restricted. Humidity above 70% promotes fungal diseases like powdery mildew. Place a small oscillating fan at the base directed upward to create a chimney effect that draws air through the foliage. In grow tents, an exhaust fan at the top with intake vents at the bottom creates the same effect, keeping humidity uniform and strengthening plant stems.
Frequently Asked Questions
How many plants can I grow on a single tower?
A standard 4-foot tower with 4 rows holds 36 plants at 6-inch spacing. An 8-foot tower holds 72 plants. For leafy greens harvested at 150-200 g, fill every pocket. For larger crops like Swiss chard, skip every other pocket.
Can I use a vertical tower outdoors?
Yes, but wind can destabilize the tower and increase transpiration. Sun on one side will cause asymmetric growth. Rain can dilute the reservoir. Protect from wind, use a 20-gallon reservoir for dilution buffering, and rotate the tower daily.
How often should the pump run?
For clay pebbles with mature plants, run 15 minutes every 2-3 hours during the light cycle. During the dark cycle, reduce to once every 6 hours or skip entirely. If water drips continuously between cycles, reduce frequency or duration.
What is the best growing media for a tower?
8-16 mm clay pebbles are best. They drain rapidly, do not compact, and are lightweight. Avoid fine media like sand or perlite alone. If you want more water retention, mix coco coir at no more than 30% with 70% pebbles.
How do I clean the tower between cycles?
Disassemble completely. Discard old media. Scrub the PVC column inside and out with 1:10 bleach solution. Rinse thoroughly. Soak emitters and tubing in 3% hydrogen peroxide for 30 minutes. Inspect for cracks before reassembling.
Can I grow strawberries in a vertical tower?
Yes. Choose day-neutral varieties like Albion, Seascape, or Monterey. Use 10-inch spacing with 4 inches of media depth per pocket. Trim runners regularly for air circulation. A well-managed tower produces 5-10 g of fruit per plant per week.
What size pump do I need?
A 200-300 GPH pump is sufficient for a 4-foot tower with 36 pockets. Choose one with a maximum head height of at least 8 feet for adequate pressure at the top distribution ring. Submersible fountain pumps from Active Aqua or EcoPlus work well.
Which Vertical Tower Builder Are You?
Find your tower plan and start growing upward instead of outward.
The Apartment Gardener
One tower on a balcony or in a corner of the living room. Growing fresh salad greens for the family with minimal space impact. Harvests every week from a single tower.
The Market Grower
Multiple towers in a small greenhouse producing hundreds of heads of lettuce per month for local restaurants and farmers markets. Maximum yield per square foot.
The DIY Builder
Enjoys building and optimizing. Experimenting with different tower heights, pocket spacing, and distribution designs. Always looking for the next improvement.
Final Analysis
Vertical hydroponic towers represent the most efficient use of growing space available to home gardeners. A single 4-foot tower producing 36 heads of lettuce every 5-6 weeks can supply a family of four with fresh salad greens year-round, all from less than one square foot of floor space. The system is not suitable for every crop large fruiting plants will struggle in the limited root volume but for leafy greens, herbs, and strawberries, the tower is unmatched in space efficiency.
The total investment for a DIY tower is approximately one hundred dollars in materials plus a weekend of construction time. The ongoing costs are minimal: seeds at fifteen cents per plant and nutrients at approximately forty dollars per year. With a properly managed succession planting schedule, a single tower can produce over two hundred and fifty harvestable plants per year, representing a value of several hundred dollars in organic produce at retail prices.
Our recommendation for first-time tower builders is to start with a single 4-foot tower and focus on mastering the water distribution system. The most common failure point is uneven drip flow, which causes some pockets to receive too much water while others get too little. Spend the extra time dialing in the emitter adjustments during the first week of operation. Once the flow is uniform, the tower will require minimal maintenance and will reward you with a continuous supply of fresh produce from a surprisingly small footprint.
Build your first vertical tower this weekend. A hundred dollars and one day of work for year-round fresh salad from a corner of your apartment.
More from Systems & DIY
Keep reading
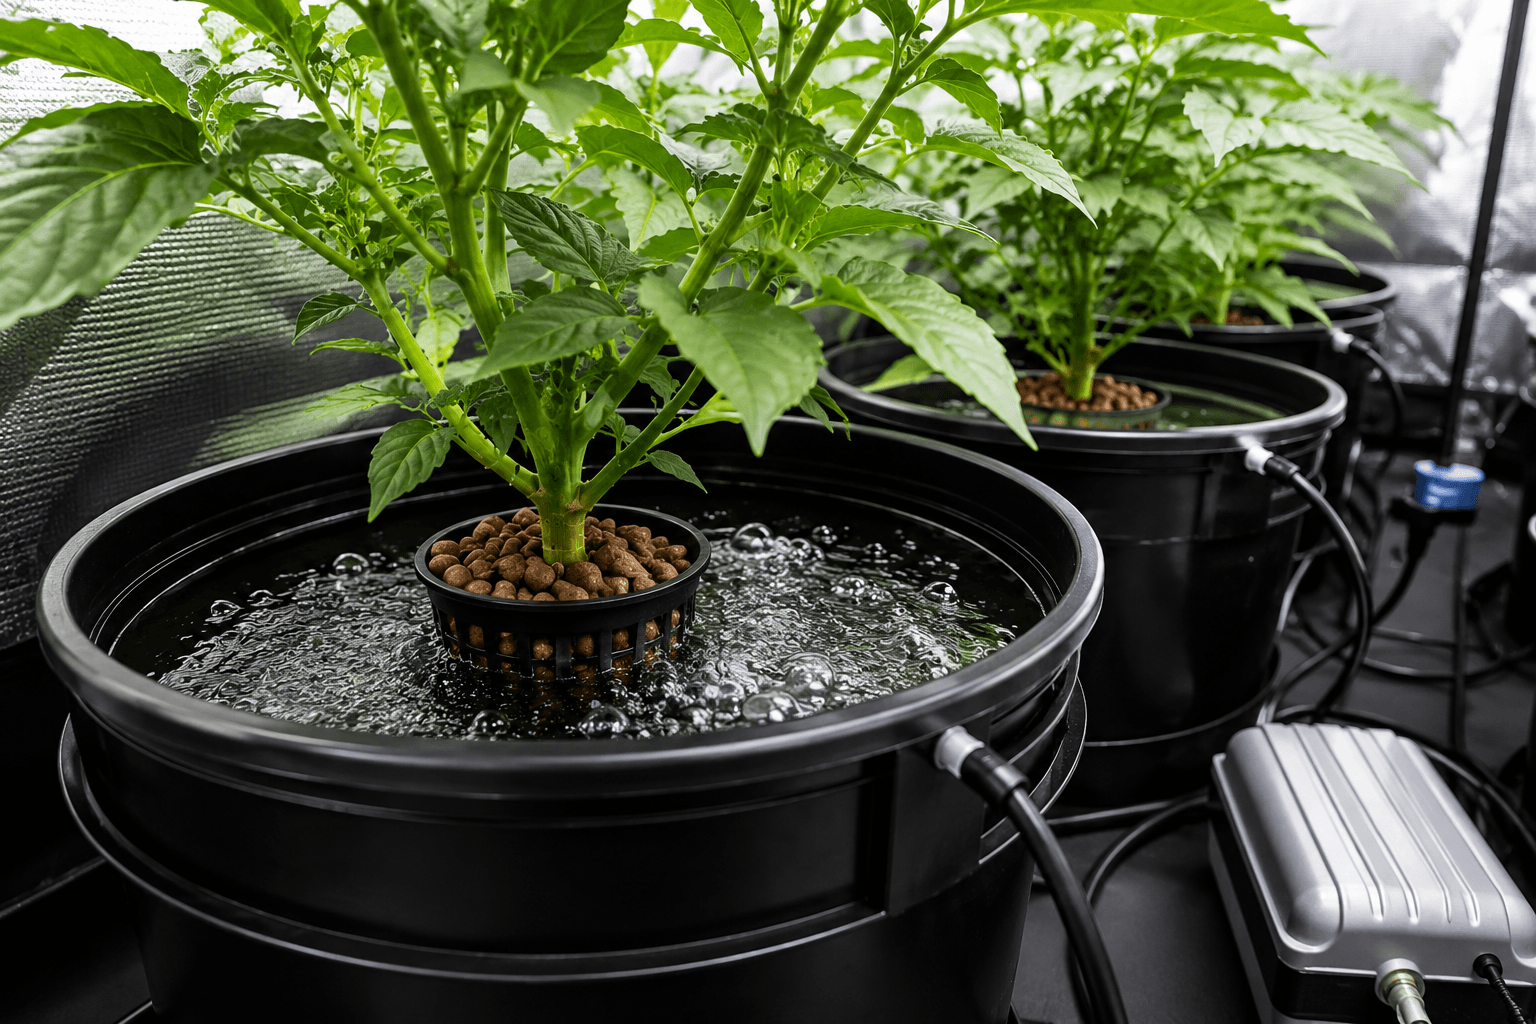
Deep Water Culture (DWC) for Beginners: The Ultimate Guide
The complete beginner's guide to Deep Water Culture hydroponics. Learn how DWC works, build your first system with a step-by-step setup guide, master nutrient management, prevent common problems, and grow lettuce, herbs, tomatoes, and more.
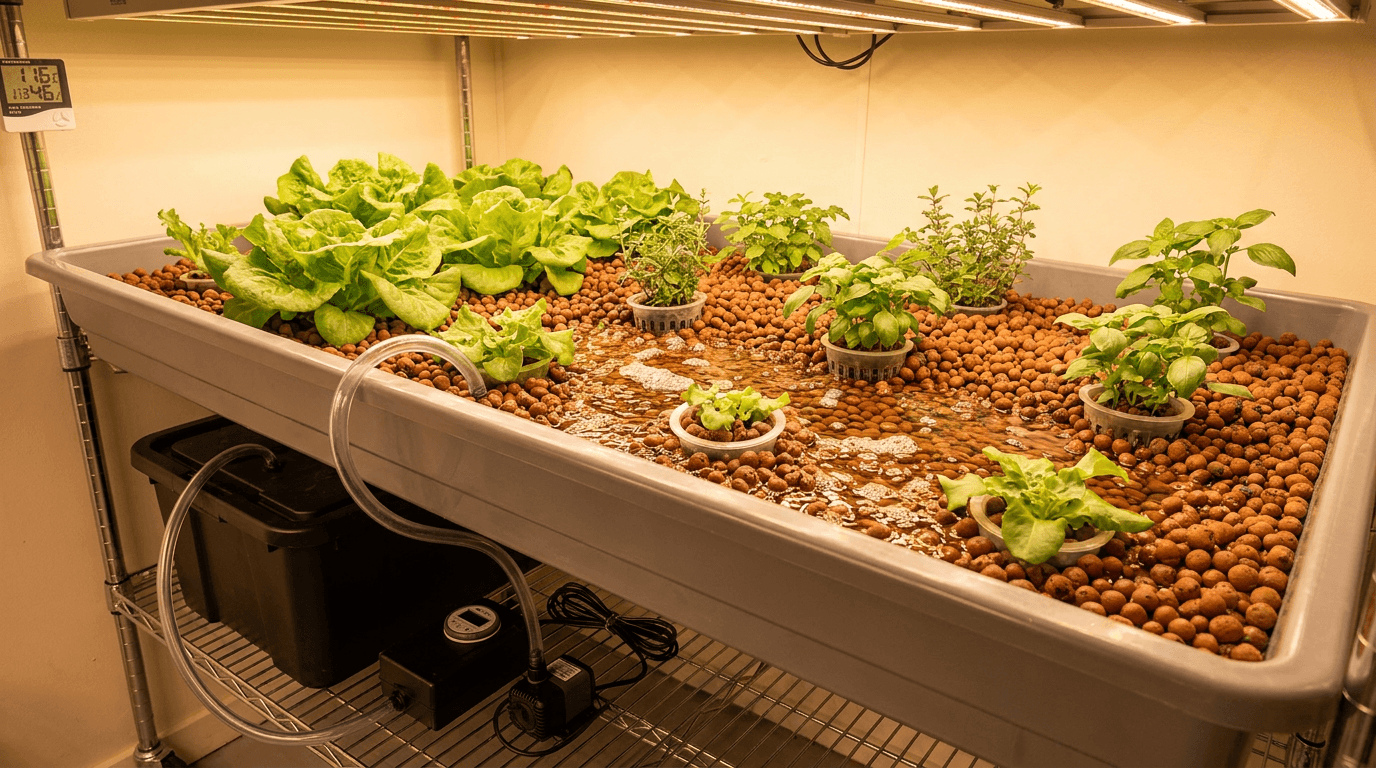
Ebb and Flow Systems: Pros, Cons, and How They Work
Everything you need to know about ebb and flow hydroponic systems: how flood and drain cycles work, the best crops for this versatile method, and a detailed pros and cons analysis backed by real-world testing data from The Hydro Lab.
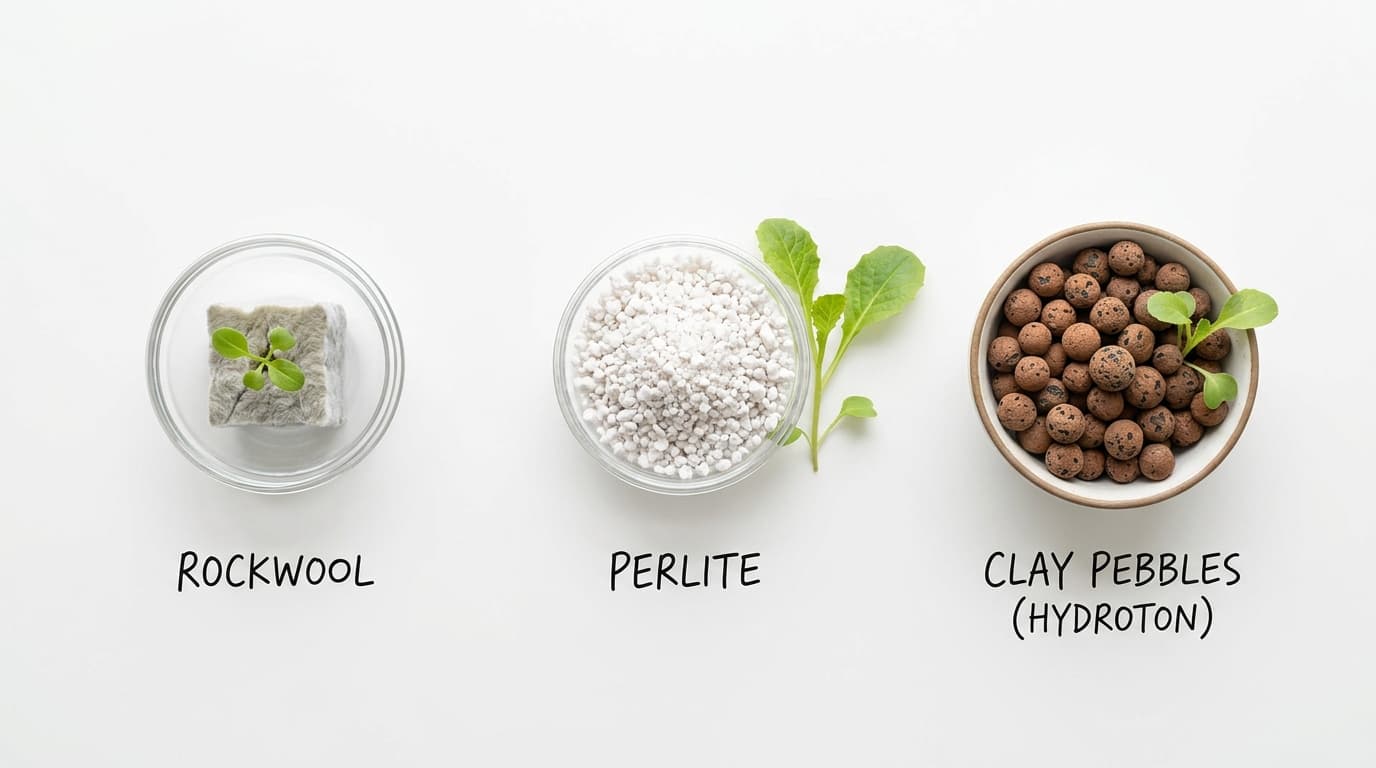
Best Substrates for Hydroponics: Rockwool, Perlite, or Clay Pebbles?
Comprehensive comparison of rockwool, perlite, and clay pebbles for hydroponic systems. Aeration, water retention, pH stability, reusability, cost, and environmental impact analyzed for DWC, NFT, flood-and-drain, and drip growers.