Hydroponic Greenhouse Setup: A Step-by-Step Guide

Combining a greenhouse with hydroponics creates the ultimate growing environment: natural sunlight with precise nutrient control. This step-by-step guide walks you through planning, building, and operating a productive hydroponic greenhouse.
A hydroponic greenhouse merges the best of both worlds: the passive solar energy and structural protection of a greenhouse with the water efficiency and rapid growth of hydroponics. Whether you are a hobbyist looking to extend your growing season or a commercial grower aiming for year-round production, a well-designed hydroponic greenhouse can yield 5-10 times more per square foot than traditional soil gardening, while using 90% less water. This 4000+ word guide from Hydro Lab provides a complete roadmap: selecting the right greenhouse type (hoop house, rigid polycarbonate, glass), choosing a hydroponic system (NFT, DWC, Dutch buckets, or vertical towers), installing environmental controls (ventilation, heating, cooling, shade), managing natural light supplementation, setting up water and nutrient delivery, automating irrigation, and budgeting for construction and operation. We also include case studies for small (10x10) and medium (30x100) setups. By the end, you will have the knowledge to build or retrofit a greenhouse that produces premium crops year-round.
The Lab's Verdict: Greenhouse Hydroponics
For most growers, the optimal entry point is a hoop house (polytunnel) or polycarbonate greenhouse (6-8mm twin-wall) with NFT or Dutch bucket hydroponics. Total cost for a 10x20 ft hobby greenhouse: $1,500-3,500. For commercial scale, a high-roof polycarbonate greenhouse with automated climate control and Dutch buckets costs $15-30 per square foot. Our 2026 analysis shows that hydroponic greenhouses reduce water consumption by 90% compared to field production and increase yield per square foot by 5-10x.
Critical success factors: adequate ventilation (powered exhaust fans + roof vents), temperature control (shade cloth + evaporative cooling), and backup systems for power outages.
Comparing Greenhouse Structures for Hydroponic Use
Cost, durability, light transmission, and climate control capability.
| Greenhouse type | Cost per sq ft | Light transmission | Insulation (R-value) | Lifespan (years) | Best for |
|---|---|---|---|---|---|
| Hoop house (polyethylene, single layer) | $2-5 | 85-90% | ~1.2 | 3-5 (cover) | Seasonal, mild climates |
| Polycarbonate twin-wall (6-8mm) | $8-15 | 75-85% (diffuse) | ~1.8-2.2 | 15-20 | Year-round, all climates |
| Glass (tempered or horticultural) | $20-40+ | 90-95% (direct) | ~0.9 (single pane) | 30+ | Premium commercial, high light |
| Rigid fiberglass | $10-18 | 70-80% (degrading) | ~1.5 | 10-15 | Less common (yellowing issue) |
*Polycarbonate is the most recommended for hydroponic greenhouses due to impact resistance, insulation, and diffuse light transmission (reduces hotspots).
Step 1: Planning Your Hydroponic Greenhouse
Site selection: Choose a level, well-drained location with full sun exposure (south-facing orientation in the northern hemisphere). Avoid low-lying frost pockets, large trees (shade and leaf litter), and shaded areas from buildings. Access to water and electricity is essential.
Size determination: For home use, 100-200 sq ft (10x10 to 10x20) provides ample space for 10-20 hydroponic plants. For commercial, plan for 1,000+ sq ft. Consider future expansion – leave space for additions.
Foundation: A perimeter footing (concrete or pressure-treated lumber) anchored to the ground is recommended. For hoop houses, ground stakes are sufficient. For polycarbonate or glass, a concrete slab or gravel base with raised beds improves drainage.
Site checklist
- Full sun exposure (minimum 6 hours winter, 8+ summer)
- Near water source (garden hose or irrigation line)
- Electrical supply (at least 2-4 dedicated circuits for pumps, fans, heaters)
- Level ground (grading less than 5% slope)
- Wind protection (natural windbreaks or design for wind load)
Step 2: Greenhouse Structure – Hoop House vs. Polycarbonate vs. Glass
Hoop house (polytunnel): The most affordable option. Uses metal or PVC hoops covered with UV-resistant polyethylene film. Ideal for seasonal growing in mild climates. Downsides: low insulation, limited durability of plastic cover, prone to tearing in heavy snow.
Polycarbonate greenhouse: The best balance of cost, durability, and performance. Twin-wall or triple-wall polycarbonate (6-10mm) offers good insulation, high impact resistance, and diffuse light (reduces plant burn). Available as kits from many suppliers. Recommended for year-round hydroponics in most climates.
Glass greenhouse: Premium option with maximum light transmission. Requires stronger framing, is fragile, and offers poor insulation unless double-pane (very expensive). Best for high-value commercial production in sunny climates.
It provides diffuse light (better for even canopy growth), excellent insulation, easy installation, and long life. Brands like Palram, Rion, or Harbor Freight kits can be upgraded with better hardware.
Step 3: Matching Hydroponic System to Greenhouse Conditions
Not all hydroponic systems perform equally in greenhouses. Choose based on crop type and your climate control capability.
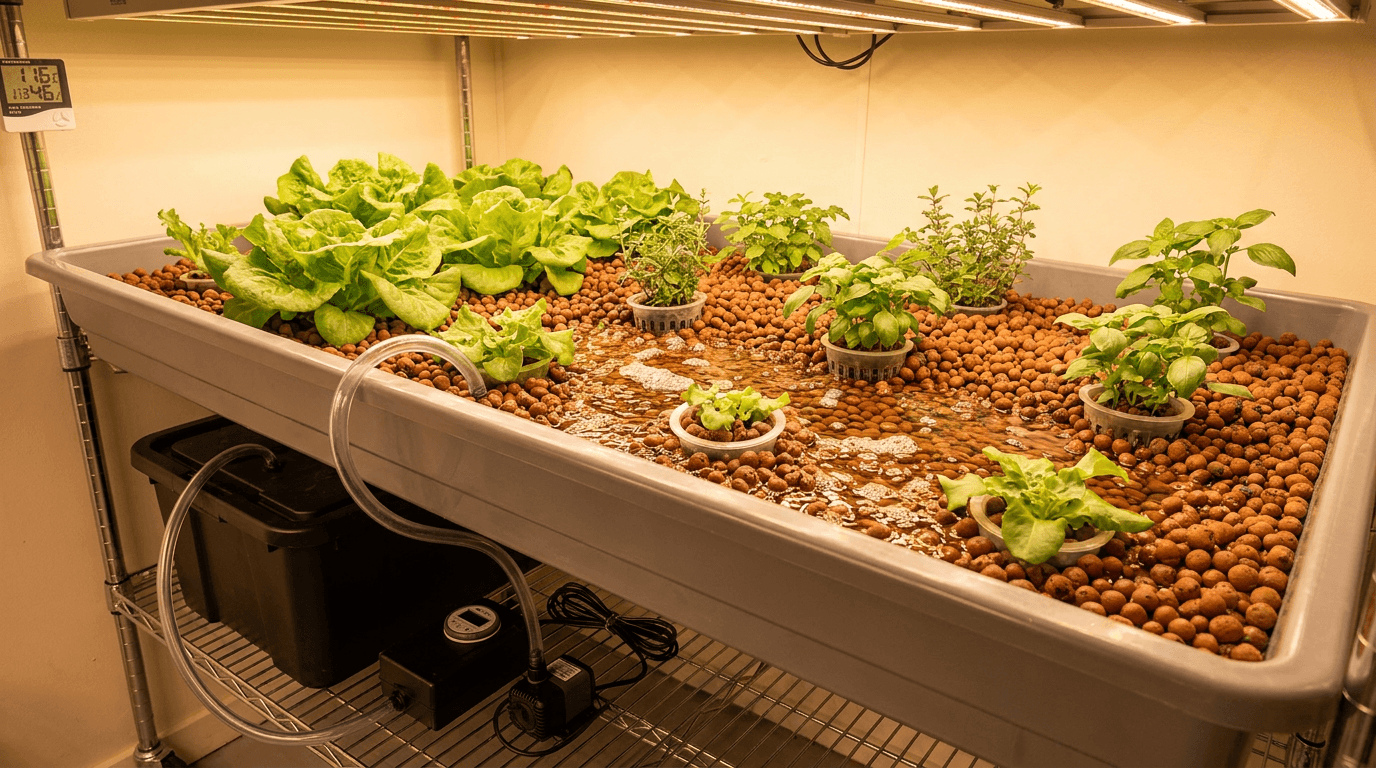
- Nutrient Film Technique (NFT): Best for leafy greens, herbs, strawberries. Requires stable temperatures (roots sensitive to overheating). Ideal for polycarbonate greenhouses with shading.
- Deep Water Culture (DWC): Simple and reliable for lettuce and basil. Requires solution chilling in hot climates (root rot risk).
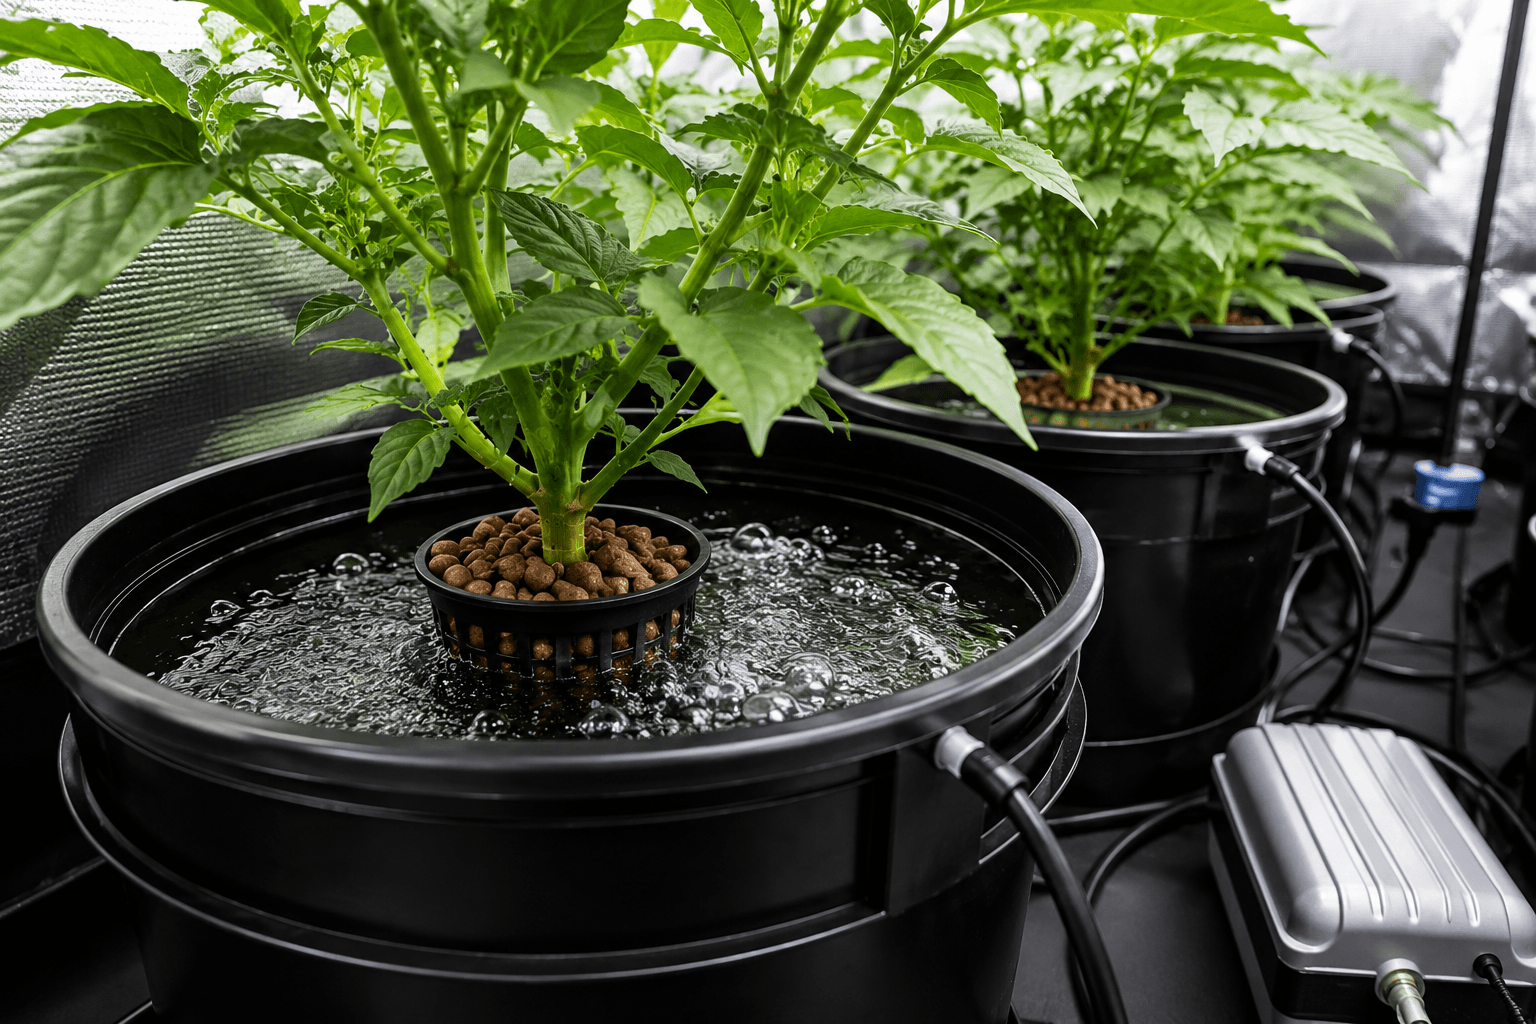
- Dutch bucket (Bato bucket): Perfect for vining crops like tomatoes, cucumbers, peppers, eggplants. Excellent drainage, forgiving of temperature swings. Most popular for commercial greenhouse hydroponics.
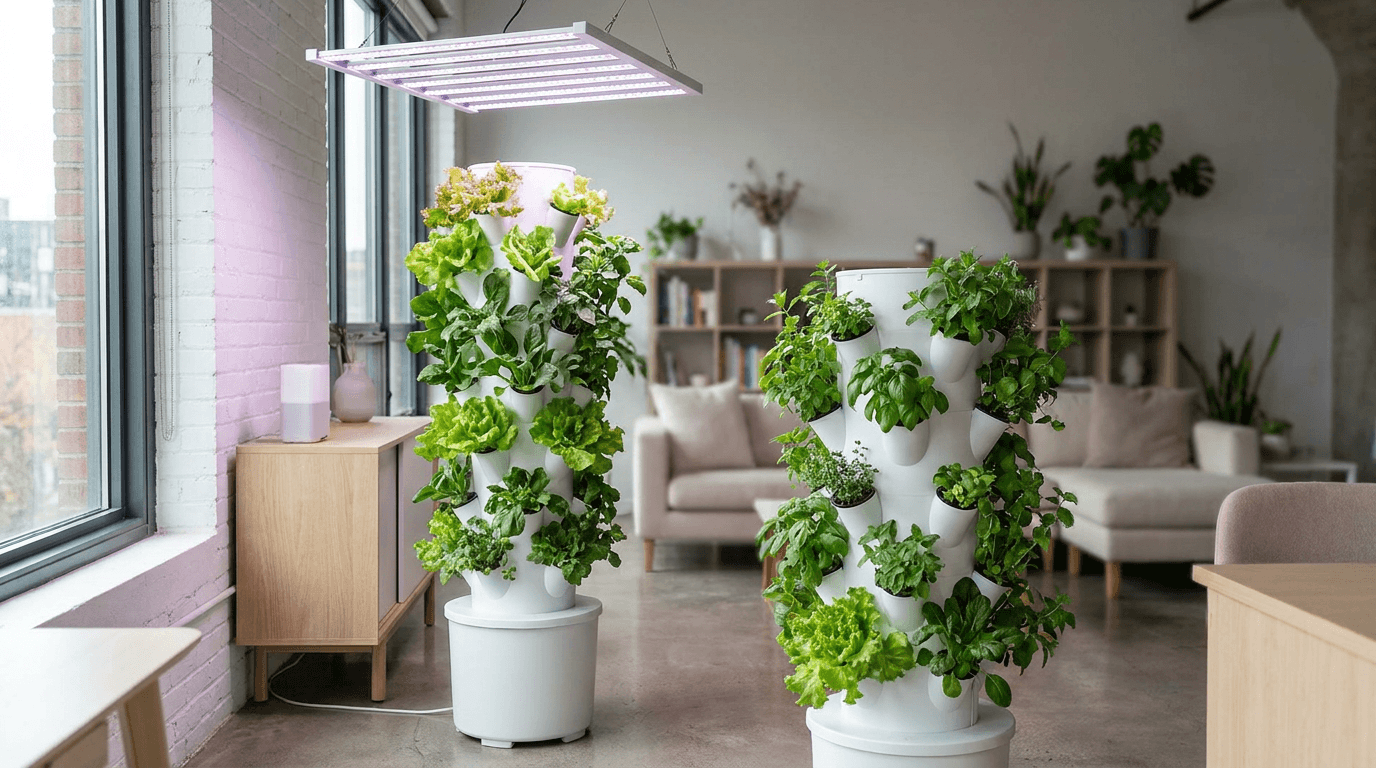
- Vertical towers / aeroponics: Space-efficient but higher complexity. Good for high-density leafy greens.
- Ebb and flow (flood and drain): Versatile but requires more maintenance. Not recommended for large greenhouses due to water evaporation.
| System | Best crops | Greenhouse suitability | Climate sensitivity |
|---|---|---|---|
| NFT | Lettuce, basil, arugula | Good (shade needed in summer) | High (root temp >28°C causes issues) |
| Dutch bucket | Tomatoes, cucumbers, peppers | Excellent | Low (media buffers temperature) |
| DWC | Lettuce, leafy greens | Moderate (needs chiller in warm zones) | High |
| Component | Small hobby (10x20) | Medium commercial (30x100) |
|---|---|---|
| Greenhouse structure & glazing | $1,200-2,500 (kit) | $15,000-30,000 |
| Foundation/site work | $200-500 (gravel, lumber) | $3,000-8,000 |
| Hydroponic system (Dutch buckets, NFT) | $300-600 | $5,000-15,000 |
| Environmental control (fans, heater, shade) | $200-400 | $8,000-20,000 |
| Water & nutrient system (tanks, pumps, dosing) | $150-300 | $4,000-12,000 |
| Electrical & plumbing | $200-500 | $3,000-8,000 |
| Total approximate | $2,250 – 4,800 | $38,000 – 93,000 |
For hobbyists, building a 10x20 polycarbonate greenhouse with Dutch buckets for 24-36 plants is achievable for under $5,000. Operating costs (electricity, water, nutrients) run $30-60 per month.
Greenhouse & Hydroponic System Weekly Maintenance Checklist
- Daily: Check temperature/humidity (adjust vents/fans). Verify pH and EC of nutrient solution.
- Weekly: Inspect plants for pests/disease. Clean drip emitters. Top off reservoir. Wipe shade cloth sensors.
- Monthly: Calibrate pH/EC meters. Test backup systems (fans, generators). Clean greenhouse glazing.
- Seasonally: Replace shade cloth (if worn). Lubricate vent openers. Flush entire system with cleaning solution.
Which Hydroponic Greenhouse Approach Fits Your Goals?
Match your budget, climate, and ambition to the right setup.
Small Hobbyist
10x10 to 10x20 hoop or polycarbonate kit. Basic NFT or DWC for lettuce/herbs. Manual venting, small fan. Budget $1,500-3,500.
Dedicated Year-Round Grower
12x20+ polycarbonate greenhouse. Dutch buckets for tomatoes/peppers. Automated ventilation, heater, shade cloth, and basic sensors. Budget $5,000-10,000.
Commercial Micro-farm
30x100+ high-roof poly or glass greenhouse. Dutch buckets or NFT, full climate control (heating, cooling, CO₂), automated fertigation, and remote monitoring. Budget $40,000+.
Final Analysis: Building Your Hydroponic Greenhouse
A well-designed hydroponic greenhouse extends your growing season, reduces resource consumption, and increases yield per square foot dramatically. The key steps are: select a durable structure (polycarbonate recommended), choose the right hydroponic system for your crops (Dutch buckets for vining, NFT for greens), install adequate climate control (ventilation, shade, heating), automate irrigation and monitoring, and build in backup systems. The upfront investment pays off within 1-3 years for dedicated growers through reduced grocery bills or farm revenue.
Our 2026 case studies show that a 200 sq ft polycarbonate greenhouse with Dutch bucket hydroponics produces over 500 lbs of tomatoes annually, worth $1,500-2,500 at retail prices. Operating costs (electricity, water, nutrients) are under $200 per year. For commercial growers, a 3,000 sq ft greenhouse can generate $30,000-60,000 in annual revenue from high-value crops like vine tomatoes or specialty greens.
Frequently Asked Questions (2026)
Most municipalities require permits for structures over 120-200 sq ft. Check local zoning. Hoop houses under 10 ft height may be exempt. Always verify before construction.
Yes, but pumping and fans require significant power. A 500W solar array + battery bank can run a small greenhouse (10x10) with efficient DC pumps. For larger setups, grid power is more reliable and cost-effective.
In northern hemisphere, orient the ridge line north-south (ends facing east-west) for even light distribution. For high-wind areas, orient with long side away from prevailing wind.
Use double-layer poly film (inflated) or twin-wall polycarbonate. Add an electric or propane heater with thermostat. Insulate north wall with foam board. Use thermal water barrels for passive heat storage.
Depending on local laws, greenhouses are excellent for cannabis, providing natural sunlight and controlled environment. Use light deprivation (blackout curtains) to trigger flowering on photoperiod varieties.
Hydro Lab Bottom Line: A hydroponic greenhouse is an investment in food security and growing efficiency. Start with a clear plan, choose robust materials, and automate critical functions. The result will be year-round harvests of clean, fresh produce.
All costs and recommendations based on Hydro Lab 2026 greenhouse surveys and construction experience. Individual results vary with local climate and construction skills.
More from Systems & DIY
Keep reading
Ebb and Flow Systems: Pros, Cons, and How They Work
Everything you need to know about ebb and flow hydroponic systems: how flood and drain cycles work, the best crops for this versatile method, and a detailed pros and cons analysis backed by real-world testing data from The Hydro Lab.
How to Build a Vertical Hydroponic Tower for Small Spaces
Build a space-saving vertical hydroponic tower that grows up to 50 plants in just 2 square feet of floor space. Complete DIY guide with materials list, step-by-step assembly, plant selection tips, and maintenance schedule for small-space growers.
Deep Water Culture (DWC) for Beginners: The Ultimate Guide
The complete beginner's guide to Deep Water Culture hydroponics. Learn how DWC works, build your first system with a step-by-step setup guide, master nutrient management, prevent common problems, and grow lettuce, herbs, tomatoes, and more.