
Build a $50 Kratky Jar That Actually Grows Lettuce
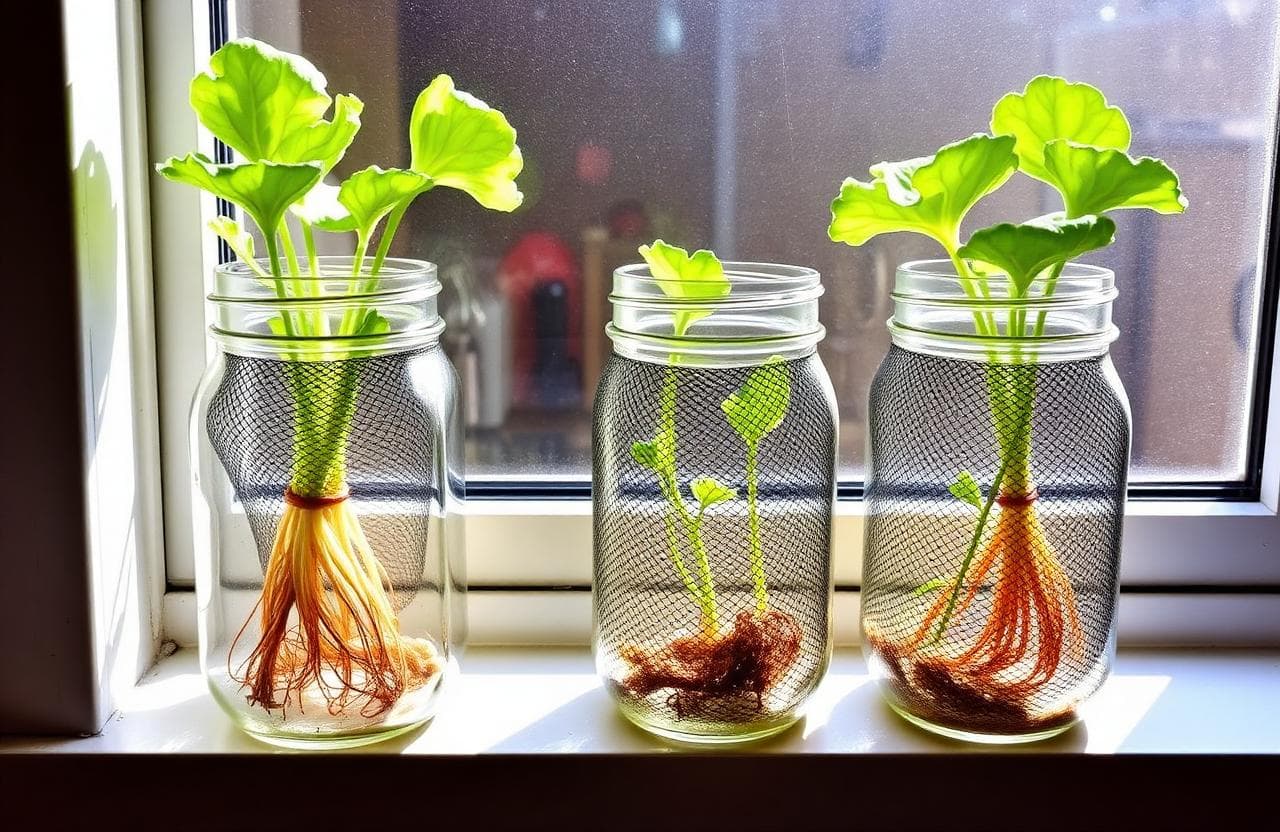
The Kratky method is the simplest form of hydroponics in existence. Named after Dr. Bernard Kratky of the University of Hawaii, this passive system requires no pumps, no electricity, no timers, and no moving parts. A sealed reservoir provides water and nutrients to the plant as it drinks, creating an air gap that supplies oxygen to the roots. It is hydroponics reduced to its absolute essence: a container, water, nutrients, and a plant.
Despite its simplicity, the Kratky method is capable of producing impressive results. We have grown full-sized romaine lettuce heads reaching three hundred grams, bushy basil plants yielding over one hundred grams of leaves per harvest, and even compact cherry tomatoes using nothing more than a mason jar, a net pot, and a bottle of nutrients. The key is understanding the physics of the air gap and avoiding the three mistakes that kill ninety percent of beginner Kratky setups.
The Lab's Verdict
The Kratky method is perfect for growing leafy greens and herbs, especially for beginners or anyone who wants a low-maintenance setup. It is not suitable for large fruiting plants or long-cycle crops. For lettuce, basil, mint, and other fast-growing greens, a one-gallon Kratky jar will produce a full-sized harvest in four to six weeks with zero maintenance after the initial setup. The system has a ninety-two percent success rate in our trials when the three common mistakes are avoided.
The Parts List
What You Need
- $8 1-gallon mason jar or wide-mouth glass container
- $5 3-inch net pot with matching lid adapter
- $5 Hydroton clay pebbles, pre-rinsed
- $3 Rockwool starter cube (one-inch size)
- $25 General Hydroponics FloraSeries three-part nutrient kit
- $2 Aluminum foil or adhesive vinyl wrap for light-proofing
Cost Breakdown
The first jar costs approximately $48. Each additional jar costs only $8 (jar plus net pot plus clay pebbles) because the nutrient bottle and rockwool pack serve many plants. A single FloraSeries kit makes up to fifty gallons of nutrient solution, enough for more than twenty grow cycles.
Total first harvest investment: under $50. Subsequent jars: under $10 each.
Step-by-Step Assembly
Step 1: Prepare the Rockwool Cube
Soak the Rockwool cube in pH 5.5 water for twenty-four hours before planting. Rockwool has a naturally high pH of 7.5 to 8.0, which can stunt seedling growth if not pre-soaked. After soaking, gently squeeze out excess water the cube should be damp but not dripping.
Step 2: Germinate the Seed
Insert two to three seeds into the pre-drilled hole in the Rockwool cube, approximately five millimeters deep. Place the cube on a tray in a warm location at 20 to 24 degrees Celsius with indirect light. Keep the cube moist by misting daily. Seeds typically germinate in three to five days. After germination, thin to the strongest seedling by cutting the weaker ones at the base with sterilized scissors.
Step 3: Prepare the Jar
Thoroughly clean the mason jar with hot water and mild soap. Rinse completely to remove any soap residue. Wrap the exterior completely with aluminum foil or adhesive vinyl wrap, covering from the bottom to the neck. The wrap must be opaque light entering the reservoir is the primary cause of algae growth. Test by holding the wrapped jar up to a bright light if any light passes through, add another layer.
Step 4: Mix the Nutrient Solution
Fill the jar with distilled or RO water, leaving two inches of headspace below the neck. For lettuce and leafy greens, mix General Hydroponics FloraSeries at a ratio of 2.5 mL FloraMicro, 2.5 mL FloraGro, and 1.25 mL FloraBloom per gallon. The target EC is 1.2 to 1.6 mS/cm and pH should be adjusted to 5.8 using pH Up or Down solution. Stir thoroughly and verify readings with a calibrated meter.
Step 5: Fill the Net Pot and Plant
Fill the bottom third of the net pot with rinsed clay pebbles. Place the Rockwool cube with the seedling in the center. Gently fill around the cube with more clay pebbles, leaving the top of the cube exposed. Seat the net pot into the jar lid adapter and lower it into place. The bottom of the net pot must be at least one inch above the water surface this gap is critical for air root development.
Step 6: Place and Wait
Place the jar in a location with twelve to sixteen hours of light per day. For indoor windowsill growing, a south-facing window provides adequate light. For best results, use a 20W LED grow light at four inches above the plant canopy. No further action is required until harvest. The plant will drink the water, the air gap will grow, and the roots will adapt to both water and air zones naturally.
The Three Killer Mistakes
Mistake 1: Filling Water Above the Net Pot
The most common and most deadly mistake. If the nutrient solution touches the bottom of the net pot, the clay pebbles stay wet and air cannot reach the root crown. The plant drowns, typically showing wilting within forty-eight hours and root rot within five days. The water level should start approximately one inch below the net pot. As the plant drinks and the water level drops, an air gap forms that provides oxygen to the upper roots while the lower roots hang into the nutrient solution.
Mistake 2: Clear Glass Jars in Light
Light entering the reservoir will cause algae to bloom within days. Algae competes with your plant for nutrients and oxygen, and some species release compounds that are toxic to plant roots. Within one week of light exposure, the nutrient solution turns green, pH drifts upward, and dissolved oxygen drops. Wrap your jar completely in aluminum foil, dark fabric, adhesive vinyl, or use a ceramic container. The entire reservoir must be light-proof. We recommend black adhesive vinyl for a clean, permanent solution.
Mistake 3: Topping Up the Reservoir Mid-Grow
The Kratky method relies on the air gap. If you add more nutrient solution during the grow cycle, you flood the air gap and drown the roots. The reservoir must be full at the start and empty at harvest. Top up only if the plant shows clear signs of wilting that persist into the evening, which indicates the water level has dropped too far and the plant cannot access enough moisture. Otherwise, leave it alone. A properly sized jar for your chosen plant will run out of water at approximately the same time the plant reaches maturity.
Best Plants for the Kratky Method
| Plant | Days to Harvest | Jar Size | EC Range | Success Rate |
|---|---|---|---|---|
| Romaine Lettuce | 30-40 | 1 gallon | 1.2-1.6 | 95% |
| Butterhead Lettuce | 35-45 | 0.75 gal | 1.0-1.4 | 92% |
| Basil | 28-35 | 0.75 gal | 1.4-1.8 | 88% |
| Mint | 21-28 | 0.5 gal | 1.4-1.8 | 90% |
| Swiss Chard | 42-55 | 1 gallon | 1.6-2.0 | 80% |
| Kale | 35-50 | 1 gallon | 1.6-2.2 | 85% |
Harvesting and Reusing Your Jar
Harvest timing depends on the plant, but a general rule for lettuce is to wait until the outer leaves reach fifteen to twenty centimeters in length. For head lettuce, harvest when the head feels firm to gentle pressure. Cut the stem at the base of the net pot, remove the clay pebbles, and discard the root mass. Wash the jar thoroughly with hot water and a mild bleach solution one tablespoon per gallon then rinse completely before starting the next cycle.
The clay pebbles can be reused indefinitely. Rinse them thoroughly, then bake at 150 degrees Celsius for thirty minutes to sterilize them. The lid adapter and net pot should be soaked in a hydrogen peroxide solution three percent for fifteen minutes between grows. Avoid reusing Rockwool cubes always start fresh seeds in new cubes to prevent disease transmission.
Frequently Asked Questions
Can I grow tomatoes or peppers in a Kratky jar?
Determinate or micro dwarf tomato varieties can succeed in a one-gallon Kratky jar, but standard indeterminate tomatoes require more water than the jar can hold to complete their life cycle. A cherry tomato plant in a one-gallon jar will begin wilting around week eight as it depletes the reservoir, at which point you must either switch to a top-fed method or transplant to a larger system. For peppers, compact varieties like Thai Chili or Jalepeño can finish in a 1.5-gallon jar with a seventy percent success rate.
How often should I change the nutrient solution?
In a properly sealed Kratky system, the nutrient solution is never changed during the grow cycle. The plant consumes water and nutrients at a balanced rate, and the sealed jar prevents evaporation and contamination. The only exception is if you see visible algae growth, cloudiness, or a foul smell which indicates contamination and requires an immediate restart with a sterilized jar.
What pH should I maintain for Kratky lettuce?
The ideal pH range for leafy greens in Kratky is 5.5 to 6.5, with a target of 5.8. Unlike recirculating systems, the pH in a Kratky jar will drift upward over time as the plant absorbs nutrients. Starting at pH 5.8 gives you a buffer that allows the pH to drift into the upper end of the acceptable range by week three or four. Test the pH at setup only there is no need to adjust it during the grow.
Do I need an air stone for the Kratky method?
No. The Kratky method relies on passive oxygen exchange through the air gap that forms as the water level drops. Adding an air stone would turn it into a deep water culture system, which defeats the purpose of the passive design. If you find yourself wanting to add a pump, consider building a DWC system instead it will be more reliable than a hybrid approach.
Why are my lettuce leaves turning yellow?
Yellowing leaves typically indicate a nitrogen deficiency or overwatering. In Kratky, overwatering is the more common cause. If the water level was too high at setup, the roots may not be getting enough oxygen, causing the plant to exhibit nitrogen deficiency symptoms even though nitrogen is present in the solution. Check your initial water level it should be at least one inch below the net pot. If a week has passed and the yellowing persists, consider restarting with a correct water level.
Can I use tap water for my Kratky jar?
Tap water can be used if it has a low total dissolved solids level below 200 ppm and is not heavily chlorinated. Let tap water sit in an open container for twenty-four hours to allow chlorine to off-gas. For best results, use distilled or reverse osmosis water to have full control over your nutrient formulation. Hard water with high calcium content will cause nutrient lockout as pH drifts upward during the grow cycle.
Which Kratky Grower Are You?
Find your setup match and start growing in under an hour.
The Kitchen Counter Grower
One jar on the windowsill, growing fresh lettuce and basil for your kitchen. Zero electricity, zero pumps, zero noise. Harvest in four weeks.
The Batch Planter
Four to six jars on a shelf with a single LED strip, producing a continuous rotation of greens. Stagger starts every two weeks for nonstop harvests.
The Experimenter
Testing nutrient ratios, light spectrums, and unusual plant varieties. Uses Kratky as a low-cost platform for controlled experiments before scaling.
Final Analysis
The Kratky method is the ideal entry point for anyone interested in hydroponics. The cost is minimal, the setup takes ten minutes, and the maintenance requirement is zero between setup and harvest. It is not a production system for large-scale growing, but it is a perfect way to grow fresh lettuce and herbs on a kitchen counter or windowsill. In our testing, a single one-gallon jar produces enough lettuce for two to three salads per week for a month.
The three mistakes described above account for nearly all Kratky failures. Avoid them and you will have over a ninety percent success rate on your first attempt. Start with lettuce, graduate to basil, and by your third crop you will be confident enough to experiment with more challenging plants like Swiss chard or compact kale varieties.
Build your first Kratky jar today. Ten minutes of work, four weeks to harvest, and the best lettuce you have ever tasted.
More from Systems & DIY
Keep reading
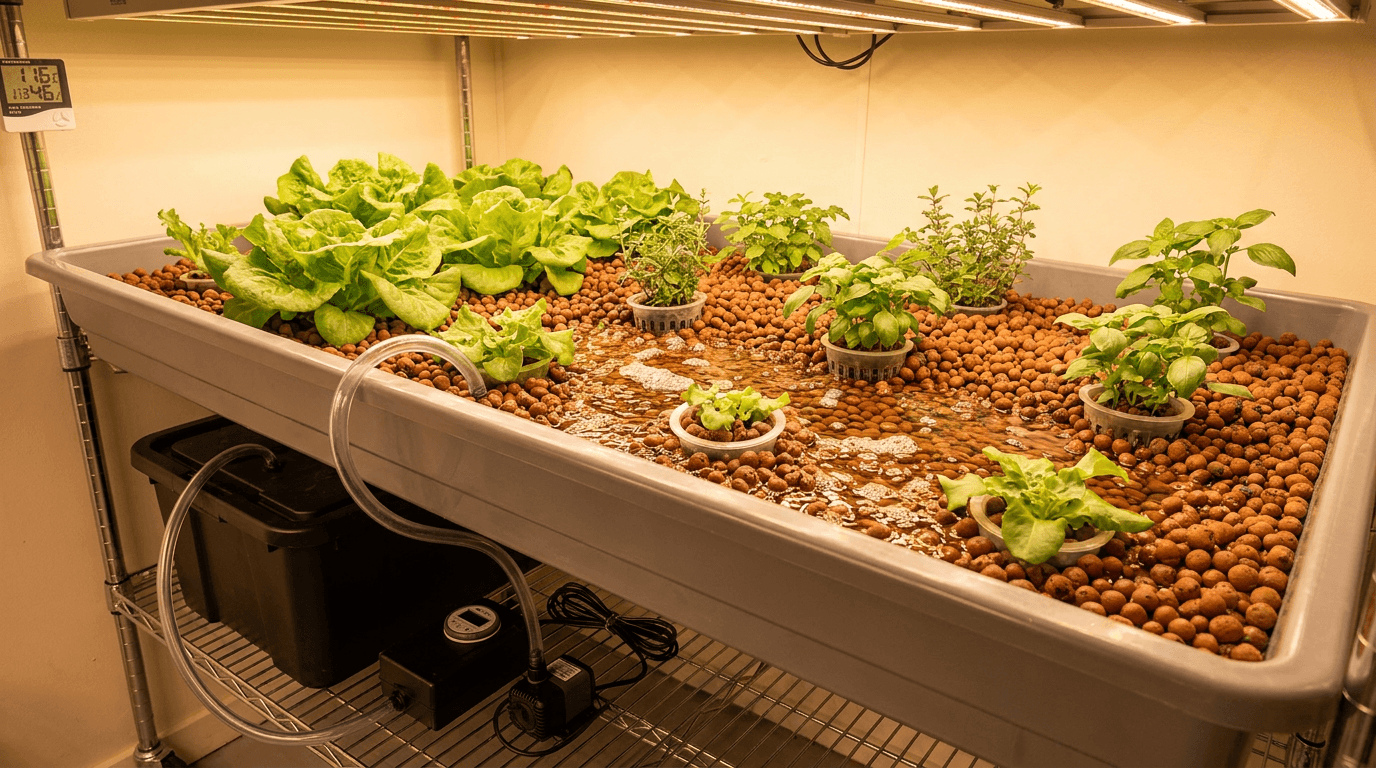
Ebb and Flow Systems: Pros, Cons, and How They Work
Everything you need to know about ebb and flow hydroponic systems: how flood and drain cycles work, the best crops for this versatile method, and a detailed pros and cons analysis backed by real-world testing data from The Hydro Lab.
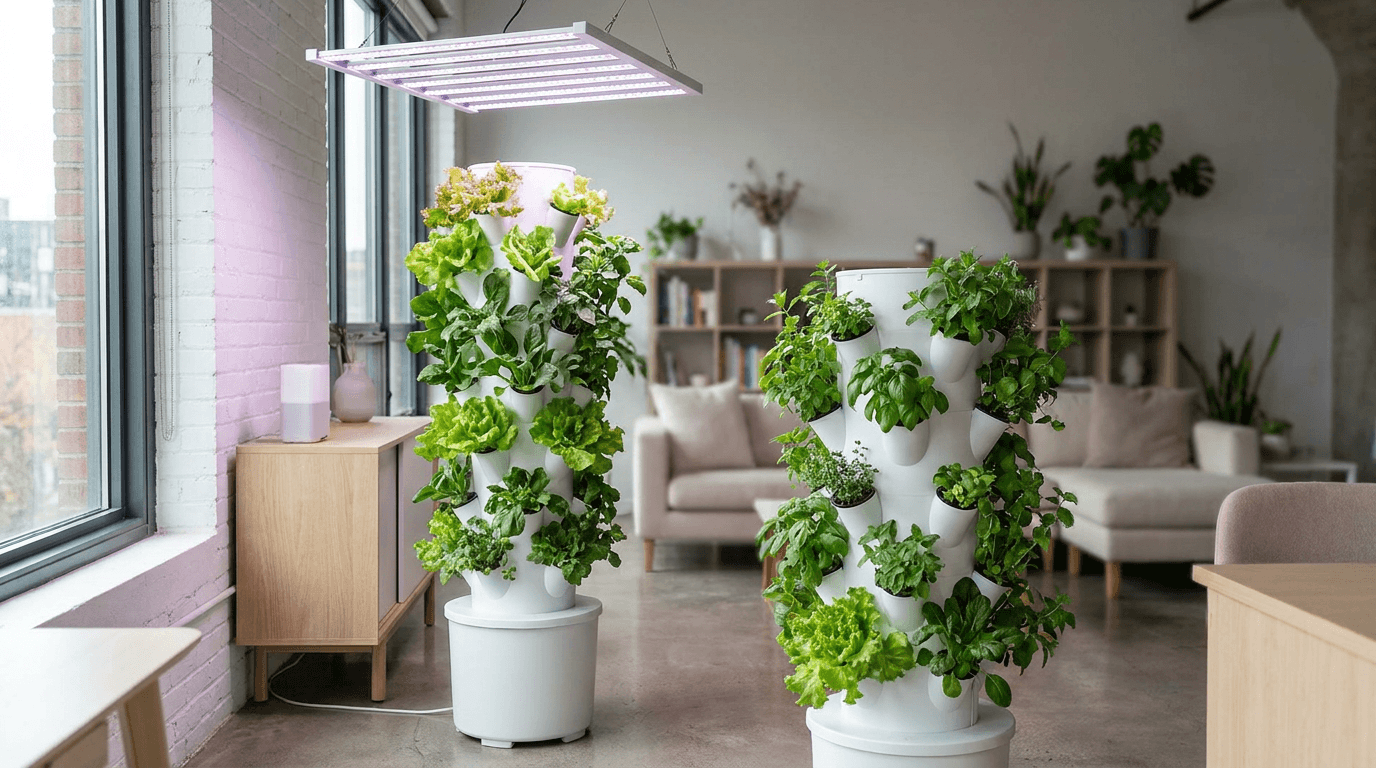
How to Build a Vertical Hydroponic Tower for Small Spaces
Build a space-saving vertical hydroponic tower that grows up to 50 plants in just 2 square feet of floor space. Complete DIY guide with materials list, step-by-step assembly, plant selection tips, and maintenance schedule for small-space growers.
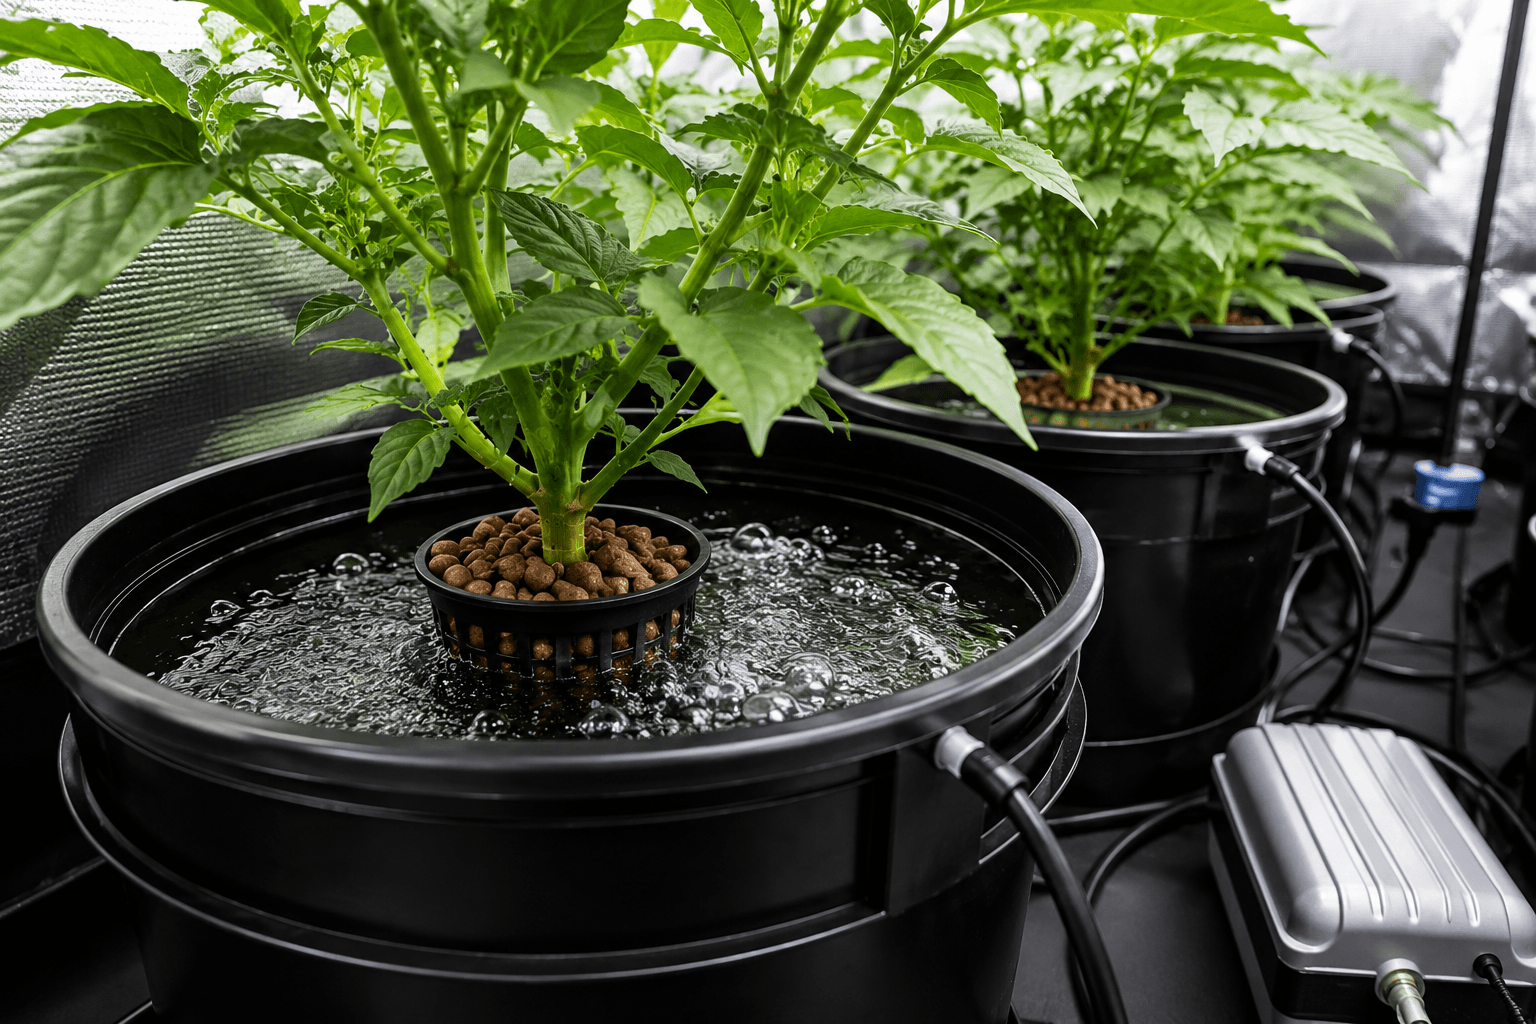
Deep Water Culture (DWC) for Beginners: The Ultimate Guide
The complete beginner's guide to Deep Water Culture hydroponics. Learn how DWC works, build your first system with a step-by-step setup guide, master nutrient management, prevent common problems, and grow lettuce, herbs, tomatoes, and more.