
Indoor Tomatoes in DWC: The Complete 16-Week Walkthrough
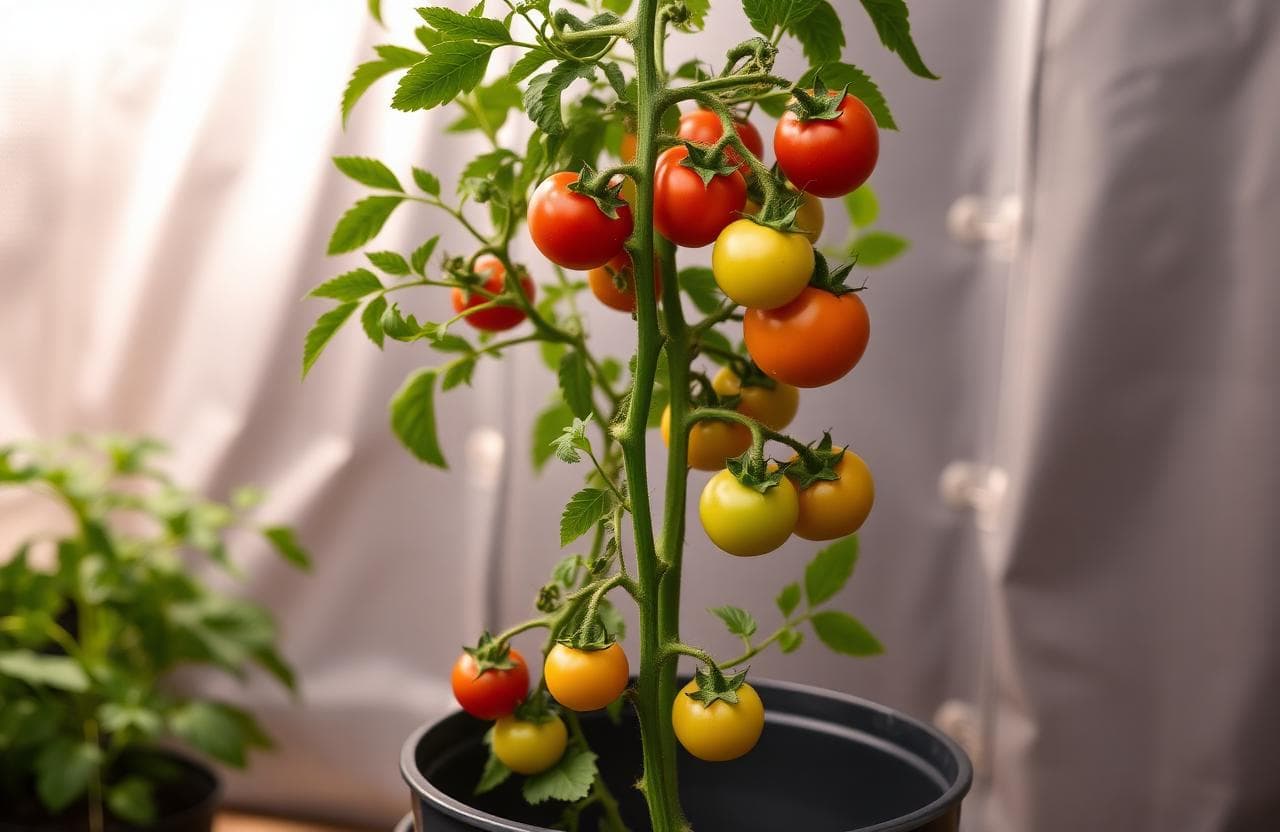
Growing tomatoes indoors in a deep water culture system is the ultimate test of a hydroponic grower's skill. Tomatoes are heavy feeders with high light requirements, a long growth cycle, and a tendency to develop problems that cascade quickly if any parameter goes out of range. But when you get it right, the results are spectacular: vines reaching two meters tall, trusses bearing ten to fifteen fruits each, and a flavor that no supermarket tomato can approach.
Deep water culture is our preferred method for indoor tomatoes because it provides the root zone stability that fruiting plants require. The large reservoir buffers pH and EC swings, the constant oxygenation promotes vigorous root growth, and the simplicity of the system means fewer mechanical failures during the long growing cycle. This guide covers the complete sixteen-week walkthrough we use at The Hydro Lab for indeterminate cherry tomatoes in DWC, from seed germination through final harvest.
The Lab's Verdict
Indeterminate cherry tomatoes in DWC are the highest-yielding option for indoor tomato cultivation. A single plant in a five-gallon bucket under a 300W LED can produce two to three kilograms of fruit over a sixteen-week cycle. The key success factors are variety selection focusing on cherry types like Sungold and Sweet 100, single-stem pruning with weekly sucker removal, and maintaining a stable reservoir temperature below twenty-two degrees Celsius to prevent pythium root rot. Our trial of six plants across three cycles yielded an average of 2.4 kilograms per plant with a ninety-three percent fruit set rate.
Seed Starting and Germination
Start your seeds six weeks before you intend to move the plants into the DWC system. Place seeds in Rockwool starter cubes pre-soaked in pH 5.5 water for twenty-four hours. Insert two seeds per cube at a depth of five millimeters. Place the cubes in a propagation tray with a clear dome and a heat mat set to 24 degrees Celsius. Seeds germinate in five to seven days. Once both seedlings emerge, thin to the strongest one by cutting the weaker stem at the base with sterilized tweezers.
After germination, remove the dome and provide sixteen hours of light per day using a 40W fluorescent or LED propagation light at a distance of five centimeters from the seedlings. Begin feeding with a diluted nutrient solution at EC 0.6 and pH 5.8 once the first true leaves appear, typically around day ten. Water the Rockwool cubes from the bottom by maintaining a shallow layer of nutrient solution in the propagation tray. This bottom-watering technique encourages the roots to grow downward, making the transition to DWC smoother.
Variety Selection and DWC Setup
For indoor DWC, indeterminate cherry tomato varieties consistently outperform determinate bush types and large-fruited beefsteak varieties. Cherry tomatoes have a higher sugar content, shorter time to first harvest at approximately sixty days from transplant, and better disease resistance under artificial lighting. Our top performers are Sungold, Sweet 100, and Supersweet 100. All three are indeterminate, meaning they continue growing and producing fruit until environmental conditions or physical constraints stop them. Sungold consistently ranks highest in brix measurements, reaching 9 to 11 Brix compared to 4 to 6 Brix for commercial greenhouse tomatoes.
Container Requirements
- Bucket size: 5 gallons (19 liters) minimum, per plant
- Net pot: 6-inch diameter, preferably with side slits
- Growing media: Clay pebbles only, 8-16 mm size
- Air pump: 20 L/min minimum with 4-inch cylindrical air stone
- Light: 300W full-spectrum LED at 18 inches during flower
Why DWC Beats Soil for Indoor Tomatoes
- Roots access oxygen 24/7 through constant air stone aeration
- Nutrient delivery is immediate and fully controllable
- No soil-borne pests or diseases to manage
- Growth rate is 30 to 50 percent faster than soil
Training and Pruning
Single-stem pruning is non-negotiable for indoor tomatoes. Every sucker that emerges from the leaf axil must be removed weekly. If left to grow, each sucker becomes a secondary stem that competes for light and nutrients, creating a dense canopy that promotes disease, increases humidity around the foliage, and reduces fruit quality. A single-stem plant concentrates all its energy into one main vine and the fruit trusses that form along it, resulting in larger, sweeter fruit and better air circulation around the plant.
Trellising is equally important. As the plant grows, it must be trained upward using twine or tomato clips attached to a horizontal support bar. We use a simple system of nylon twine tied to the top of the grow tent frame and wound gently around the main stem as it grows. The twine should be checked and adjusted weekly to prevent the stem from bending or breaking under the weight of developing fruit. Lower leaves that turn yellow or touch the net pot should be removed to improve airflow and reduce the risk of soil-borne pathogen splash-up.
| Week | Growth Stage | Action | Key Parameter |
|---|---|---|---|
| 1-3 | Seedling | Bottom-water, 16h light, EC 0.6-1.0 | Temp 24 C, RH 65-70% |
| 3-4 | Transplant | Move to DWC bucket, secure stem to trellis | EC 1.6-2.0, pH 5.8 |
| 4-6 | Vegetative | First sucker removal, tie main stem weekly | EC 1.8-2.2, pH 5.8 |
| 6-7 | Flower emergence | First flower truss appears. Switch to bloom nutes | EC 2.4-2.8, pH 6.0, add CalMag |
| 7-10 | Fruit set | Remove lower leaves, continue sucker removal | EC 2.4-2.8, pH 6.0 |
| 10-12 | Top growth | Allow 8-10 trusses, then top the plant | EC 2.6-3.0, pH 6.0 |
| 12-16 | Ripening | Remove new flowers, energy into ripening | EC 2.6-3.0, flush in final week |
Nutrient Management Through the Cycle
The transition from vegetative growth to flowering requires a fundamental shift in nutrient formulation. During the first six weeks, use a balanced grow formula with an N-P-K ratio around 3-1-2 such as General Hydroponics FloraSeries at 5 mL FloraMicro, 5 mL FloraGro, and 2.5 mL FloraBloom per gallon. At the first sign of flower trusses, switch to a bloom formula with higher phosphorus and potassium, typically 1-3-4 at 5 mL FloraMicro, 2.5 mL FloraGro, and 7.5 mL FloraBloom per gallon. The increased phosphorus supports flower development and fruit set, while potassium drives fruit sizing and sugar production.
Calcium and magnesium supplementation becomes critical during fruiting. Tomatoes are prone to blossom end rot, a physiological disorder caused by calcium deficiency that manifests as a dark, sunken lesion on the bottom of the fruit. Adding a calcium-magnesium supplement at five milliliters per gallon from week six onward will prevent this condition. Maintain humidity between fifty-five and sixty percent during fruit set to improve calcium transport within the plant. Low humidity below forty percent causes transpiration to outpace calcium uptake, while high humidity above seventy percent reduces transpiration and calcium delivery to developing fruit.
Nutrient Schedule Summary
- Weeks 1-6: Grow formula EC 1.6-2.0, pH 5.8, water temp 20-22 C
- Weeks 7-10: Bloom formula EC 2.4-2.8, pH 6.0, add 5 mL/gal CalMag
- Weeks 11-16: Bloom formula EC 2.6-3.0, pH 6.0, CalMag continued
- Final week: Flush with plain pH-adjusted water only at pH 6.0
Troubleshooting Common Problems
Blossom End Rot
A dark, leathery patch on the bottom of the fruit caused by calcium deficiency. Despite what many growers assume, the issue is rarely a lack of calcium in the nutrient solution. It is almost always a transport problem caused by inconsistent watering, high EC above 3.0, or humidity fluctuations outside the 55 to 60 percent range. Increase calcium-magnesium supplement to 8 mL per gallon, verify humidity stability, and remove affected fruit to redirect calcium to developing trusses.
Pythium Root Rot
Brown, slimy roots with a foul smell indicate pythium infection, also known as root rot. This is the most common killer of DWC tomatoes and is almost always caused by reservoir temperatures above 24 degrees Celsius. Prevention is far more effective than treatment. Keep reservoir temperature below 22 C by insulating buckets, using cool-toned reflective materials, and adding frozen water bottles during hot weather. If pythium appears, treat with a hydrogen peroxide solution at 3 mL per liter of 3 percent H2O2, repeated every three days until roots show new white growth.
Leaf Curl and Yellowing
Upward leaf curling combined with interveinal chlorosis yellowing between the veins typically indicates nitrogen toxicity from overfeeding. Reduce your EC by 0.4 and observe for one week. Downward curling with dark green leaves suggests potassium deficiency, which can be corrected by increasing the bloom nutrient ratio. Bottom leaf yellowing with brown spots is a classic magnesium deficiency sign, treat with Epsom salts at one teaspoon per gallon as an immediate supplement.
Frequently Asked Questions
Can I grow beefsteak tomatoes in DWC indoors?
Beefsteak tomatoes are more challenging in indoor DWC because they require more light higher PPFD above 800 umol/m2/s, longer days to maturity up to eighty-five days from transplant, and more calcium per fruit to prevent blossom end rot. If you want to try, select a greenhouse-adapted variety like Big Beef or Trust and be prepared to provide CO2 enrichment to reach the yield potential. Cherry tomatoes remain the more reliable choice for indoor growers with standard 300W LED lighting.
How often should I change the reservoir water?
Change the reservoir completely every seven to ten days during the vegetative stage and every five to seven days during flowering and fruiting. Tomatoes are heavy feeders, and as the plant matures, it consumes nutrients at different rates, causing the EC and pH to drift. Fresh nutrient solution every week prevents deficiencies and maintains optimal uptake. Between changes, top off with pH-adjusted water only, not fresh nutrient solution.
Do I need to pollinate indoor tomatoes manually?
Yes. Tomatoes are self-pollinating but require physical vibration to release pollen from the anthers. Without wind or insects, the pollen stays trapped and flowers drop without setting fruit. Use an electric toothbrush to vibrate each flower truss for two to three seconds every two to three days after the flowers open. Alternatively, a small oscillating fan directed at the plants provides enough vibration for adequate pollination. Our trials show manual pollination with an electric toothbrush yields twenty-five percent higher fruit set than fan-only pollination.
What is the ideal light schedule for indoor DWC tomatoes?
Use an 18/6 light cycle eighteen hours on, six hours off during the vegetative stage. When the plant reaches the trellis height and you have allowed eight to ten fruit trusses to develop, switch to 12/12 to trigger the ripening phase. The reduced light duration signals the plant to divert energy from vegetative growth into fruit ripening. Maintain PPFD at 400 to 500 umol/m2/s during vegetative and 500 to 700 umol/m2/s during flowering, measured at canopy height with a quantum sensor.
How do I prevent algae in my DWC reservoir?
Algae requires light to grow. If your bucket is opaque typically black or dark blue and your net pot lid is sealed around the stem with a neoprene collar, algae should not be a problem. If you see green growth on the clay pebbles or inside the bucket, you have a light leak. Seal any gaps around the net pot with aluminum foil tape. Adding beneficial bacteria products like Hydroguard or Southern Ag Garden Friendly Fungicide can also help suppress algae by outcompeting it for nutrients.
When should I flush my DWC system before harvest?
Start flushing seven days before your planned final harvest. Replace the nutrient solution with plain water adjusted to pH 6.0. Change the flush water every two to three days during this week. Flushing removes excess mineral salts from the plant tissue, resulting in a cleaner flavor profile. The plant will cannibalize its lower leaves for nutrients during the flush, which is normal. Do not flush longer than ten days, as the plant will begin to suffer from nutrient starvation.
Which Tomato Grower Are You?
Choose your path and start growing the best tomatoes of your life.
The First-Time Tomato Grower
One plant, one bucket, one light. Focus on mastering the basics: pruning, nutrients, and pollination. Expect one to two kilograms of cherry tomatoes from your first cycle.
The Perpetual Harvester
Multiple plants staggered by three to four weeks, ensuring continuous harvests. A dedicated grow tent with CO2 enrichment and climate automation for maximum production.
The Variety Collector
Growing five to ten different varieties each cycle, from black krim to green zebra to sun gold. Comparing flavor profiles, brix levels, and growth habits side by side.
Final Analysis
Indoor tomatoes in DWC require commitment. Sixteen weeks is a long time to maintain a single plant, and the daily attention to pH, EC, and pruning never stops. But the yield from a well-managed plant is remarkable, and the quality of a vine-ripened Sungold tomato picked minutes before eating is something that no store can replicate. The total cost for a single-plant DWC system is approximately one hundred and fifty dollars for the bucket, air pump, net pot, clay pebbles, nutrients, and seeds. At an average yield of 2.4 kilograms per cycle and a retail value of roughly forty dollars per kilogram for organic cherry tomatoes, the system pays for itself in two cycles.
The three pillars of success are pruning discipline, calcium management, and temperature control. Get these right and you will have more tomatoes than you can eat. Get them wrong and you will learn painful lessons about blossom end rot and root disease. Start with one plant, master the system, and scale from there. The skills you develop growing tomatoes in DWC will apply to any fruiting plant you choose to grow indoors.
Plant a Sungold seed today. Sixteen weeks from now, you will understand why indoor tomato growers never go back to store-bought fruit.
More from Crop Guides
Keep reading
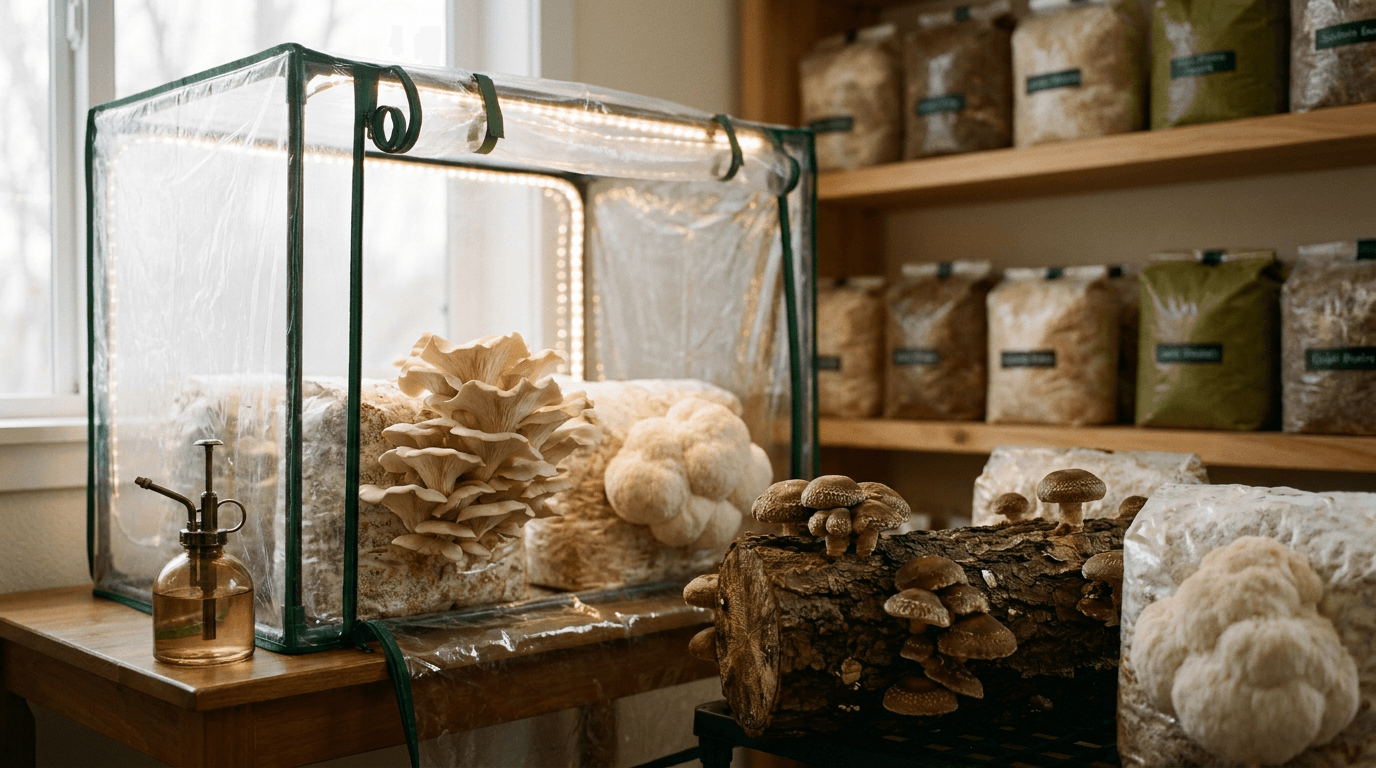
How to Grow Gourmet Mushrooms Indoors (Hydroponic Style)
Explore our comprehensive guide on How to Grow Gourmet Mushrooms Indoors (Hydroponic Style). Part of our technical series on specialized crop guides, this report covers everything you need to optimize your yield and maintain a healthy grow environment.
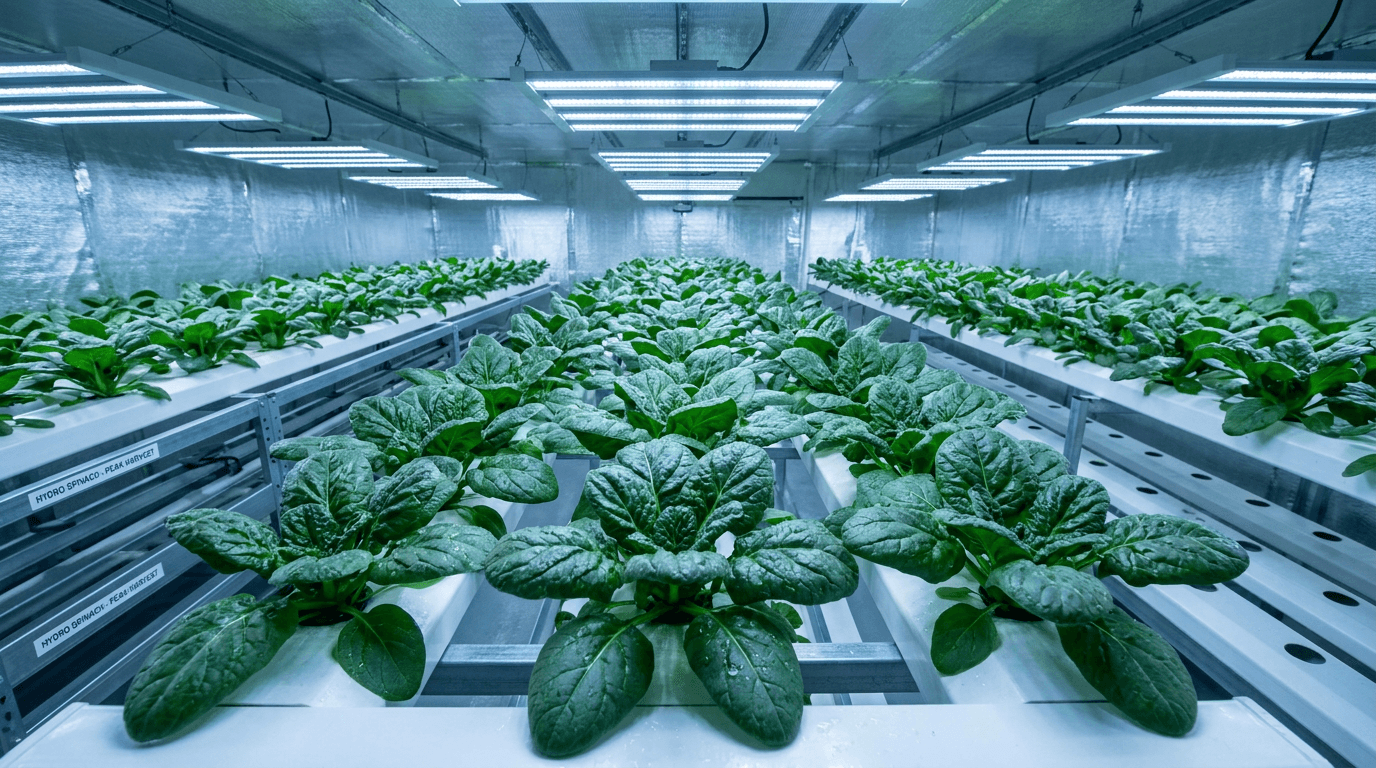
How to Grow Hydroponic Spinach Without Bolting
Complete guide to growing bolt-free hydroponic spinach indoors. Photoperiod management, variety selection, temperature control, nutrient strategy, and harvest techniques to keep spinach producing sweet leaves for months.
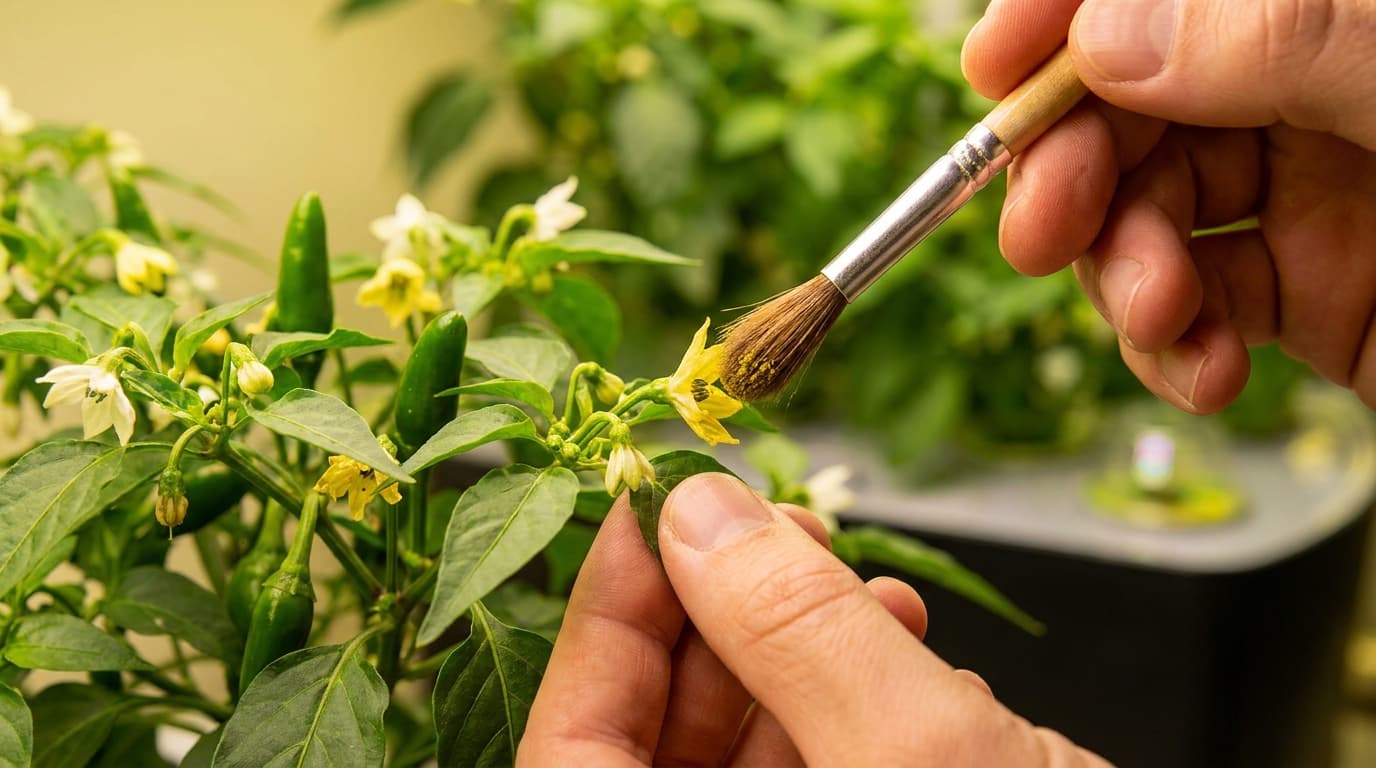
Pollinating Indoor Plants: Hand-Pollination Techniques
Complete guide to hand-pollinating indoor hydroponic crops. Electric toothbrush method for tomatoes and peppers, paintbrush technique for cucumbers and squash, cotton swab method for strawberries, plus troubleshooting low fruit set.