
Pollinating Indoor Plants: Hand-Pollination Techniques
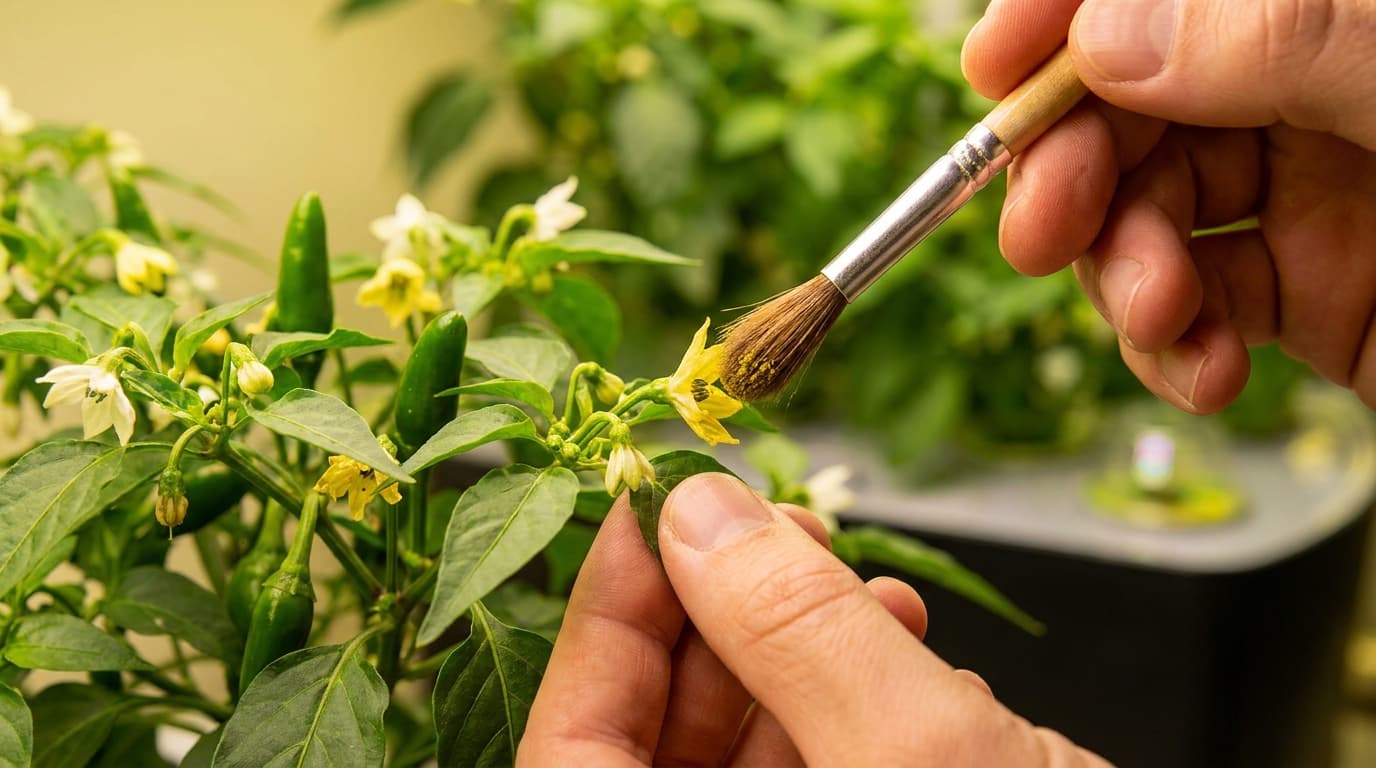
Indoor hydroponic growers who successfully navigate vegetative growth, nutrient management, and environmental control often hit a wall when their plants reach the flowering stage: flowers form, but fruit never develops. The flowers drop off, the ovaries remain empty, and a promising tomato, pepper, or strawberry plant produces nothing edible. The missing piece is pollination. Outdoors, wind and insects transfer pollen from male to female flower parts, but inside a grow tent with still air and no insects, the plant is reproductively isolated.
Hand-pollination is the manual transfer of pollen from the anthers (male reproductive organs) to the stigma (female receptive surface) of flowers. It is a simple mechanical process that requires minimal equipment, but it demands an understanding of flower anatomy, pollen viability, timing, and environmental conditions. Done correctly, hand-pollination produces fruit set rates that match or exceed outdoor insect pollination. Done incorrectly, it produces no result at all.
This guide covers the anatomy of self-pollinating and cross-pollinating flowers, the specific techniques for tomatoes, peppers, strawberries, cucumbers, melons, and squash, the tools and environmental conditions required for successful pollination, and how to diagnose and fix low fruit set in your indoor garden.
The Lab's Verdict
Most indoor pollination failures are caused by low humidity rather than technique. Pollen grains desiccate within minutes when relative humidity drops below forty percent. Before reaching for a paintbrush or electric toothbrush, measure your grow tent humidity and bring it to fifty to sixty percent during the pollination window. This single adjustment resolves more fruit-set problems than any pollination tool or technique. For self-pollinating crops like tomatoes and peppers, a simple vibration device applied to the flower stem three times per week during peak bloom is the most time-efficient method.
Flower Anatomy and Pollination Types
Understanding whether your crop is self-pollinating or cross-pollinating determines the technique you need to use. Self-pollinating plants, also called autogamous species, have flowers that contain both male and female parts and are capable of fertilizing themselves without external pollen transfer. The anthers release pollen directly onto the stigma within the same flower, often before the flower even fully opens. Tomatoes, peppers, eggplant, and beans are self-pollinating. For these crops, the grower's job is to ensure that the pollen is released from the anthers and makes contact with the stigma, which can be achieved through vibration or gentle shaking.
Cross-pollinating plants, also called allogamous species, have flowers that require pollen from a different plant or a different flower to achieve fertilization. Some species have separate male and female flowers on the same plant, which is called monoecious. Cucumbers, squash, melons, and pumpkins are monoecious, with distinct male and female flowers that both appear on the same vine. The grower must identify both flower types and transfer pollen from a male flower to a female flower. Other species have male and female flowers on separate plants, which is called dioecious. Kiwifruit is dioecious, and both male and female plants must be present for fruit production.
The female flower parts are the stigma, style, and ovary, collectively called the pistil. The stigma is the sticky, receptive surface at the top of the pistil where pollen grains must land and germinate. The male flower parts are the anthers and filaments, collectively called the stamen. The anthers produce pollen grains that are typically yellow, powdery, and easily visible. Pollination occurs when a pollen grain lands on the stigma, germinates, and grows a pollen tube down the style to reach the ovary, where fertilization takes place.
The window of stigma receptivity varies by species. Tomato stigmas remain receptive for two to three days after the flower opens. Pepper stigmas are receptive for one to two days. Cucumber female flowers are receptive for a single day, usually the morning of the day they open. Missing this window means the flower will drop without setting fruit, and there is no way to recover it.
Pollination Method Comparison
| Method | Best For | Effort | Effectiveness | Equipment Needed |
|---|---|---|---|---|
| Vibration (electric toothbrush) | Tomatoes, peppers | Low | High | Cheap electric toothbrush |
| Paintbrush transfer | Cucumbers, squash, melons | Medium | High | Fine artists paintbrush |
| Cotton swab | Small flowers, strawberries | Medium | Good | Cotton swabs |
| Plant shaking | Tomatoes, peppers in groups | Very low | Moderate | None |
| Oscillating fan | All self-pollinating crops | Very low | Moderate to high | Oscillating fan |
| Commercial bumblebees | Greenhouse tomatoes, peppers | None | Very high | Bumblebee hive |
The Electric Toothbrush Method for Tomatoes and Peppers
The most effective hand-pollination technique for self-pollinating crops is the electric toothbrush method. Tomato and pepper flowers require vibration to release pollen from their poricidal anthers, which are shaped like tiny salt shakers that release pollen only through small terminal pores when mechanically agitated. Wind outdoors provides this vibration naturally. Inside a grow tent, an electric toothbrush provides an identical mechanical stimulus.
Select a cheap battery-powered electric toothbrush with a small, round vibrating head. Turn it on and touch the vibrating head gently to the flower stem, not the flower itself, for approximately one to two seconds. The vibration travels through the stem into the flower, causing the anthers to release a visible puff of yellow pollen onto the stigma. You will see the pollen cloud with the naked eye on the first or second flower of each session.
Pollinate every other day during the peak flowering period. Tomato and pepper flowers remain viable for two to three days after opening, so a Monday-Wednesday-Friday schedule covers the receptive window for every flower in the cluster. Pollinate in the morning between one and three hours after the lights turn on, when pollen viability and stigma receptivity are at their peak.
Humidity management during pollination is critical. Pollen grains desiccate and die within five to fifteen minutes at relative humidity below forty percent. At fifty to seventy percent humidity, pollen remains viable for several hours. If your grow tent humidity is consistently below forty percent, run a humidifier for two hours before and during your pollination session, or mist the plants lightly with a spray bottle thirty minutes before pollinating.
Temperature also affects pollen viability. Tomato pollen germination rates drop sharply above 85 degrees Fahrenheit and below 60 degrees Fahrenheit. The optimal temperature window for tomato and pepper pollination is 65 to 80 degrees Fahrenheit. If your grow tent runs hot, schedule pollination sessions for the coolest part of the light cycle or consider venting heat before beginning.
Paintbrush Pollination for Cucurbits
Cucumbers, squash, melons, and pumpkins produce separate male and female flowers on the same plant. The male flowers appear first and are borne on slender stems without any swelling at the base. The female flowers have a visible swelling, the ovary, at the base of the flower, which looks like a miniature version of the fruit. Identifying the difference is essential because only female flowers can produce fruit, and they need pollen from a male flower to do so.
The paintbrush method is the standard technique for cucurbit pollination. Select a fine artists paintbrush with soft bristles. Locate a fully open male flower and gently brush the bristles across the anthers to collect the yellow pollen grains. The pollen is visible as a yellow dust on the brush. Immediately transfer the pollen to the stigma of a fully open female flower by dabbing the brush gently onto the central sticky surface. One male flower contains enough pollen to pollinate two to three female flowers.
The timing window for cucurbit pollination is narrow. Female flowers open for a single day and are most receptive in the early morning, typically from sunrise until noon under natural light. Under artificial lights, pollinate within the first four hours of the light cycle. Male flowers also produce the most pollen during this period. By afternoon, the pollen supply diminishes and stigma receptivity declines.
An alternative to the paintbrush is the male flower touch method, where a fully open male flower is picked, its petals are folded back to expose the anthers, and the anthers are touched directly to the stigma of a female flower. This method is faster and transfers more pollen than a paintbrush, but it consumes the male flower. In a small grow tent with limited male flower production, the paintbrush method is more conservative.
Cucurbit plants often produce more male flowers than female flowers early in their development, a condition called male bias. As the plant matures and accumulates more resources, female flower production increases. If you see abundant male flowers but no female flowers, continue the pollination routine daily because the female flowers will appear as the plant transitions into its reproductive phase.
Strawberry Pollination: The Cotton Swab Approach
Strawberries are self-pollinating but require thorough coverage of the many pistils on the receptacle surface to produce fully formed, symmetrical fruit. Each strawberry flower contains dozens to hundreds of individual pistils arranged in a spiral on the central receptacle. Each pistil that receives a pollen grain develops into one of the small seeds, called achenes, on the surface of the mature fruit. If a section of the receptacle receives no pollen, that section does not develop, resulting in a misshapen, small, or deformed berry.
The cotton swab method ensures complete coverage of the strawberry flower's receptive surface. Take a fresh cotton swab and gently swirl it across the anthers of the flower to collect pollen. Then swirl the swab across the entire central surface of the flower, making contact with every visible pistil. Rotate the swab as you work to pick up fresh pollen from different anthers. A single flower requires approximately ten to fifteen seconds of gentle swirling for complete coverage.
Strawberry flowers remain open and receptive for three to five days. Pollinate each flower on the first day it opens and repeat daily for two to three days to ensure maximum pollen coverage. Flowers that open on consecutive days on the same plant can all be pollinated in a single session. Focus on flowers that are fully open with visible yellow anthers, which indicate that pollen is being produced.
An oscillating fan directed at the strawberry canopy provides supplementary pollination by vibrating the flowers and moving pollen between flowers. The fan should be set to low or medium speed and positioned to create gentle movement of the leaves and flowers without causing mechanical damage. Running the fan during the entire light cycle provides continuous pollination support between manual sessions.
Relative humidity during strawberry pollination should be maintained at fifty to sixty percent. Below forty percent humidity, the pollen desiccates and the stigmatic surface dries out, reducing adhesion and germination. Above seventy percent, pollen grains can burst from moisture absorption or become too sticky to disperse effectively.
Fan-Assisted Pollination for Large Operations
For growers with more than a dozen plants or for those who cannot dedicate time to daily hand-pollination, fan-assisted pollination is a viable semi-automated alternative. An oscillating fan positioned to create gentle air movement across the entire canopy shakes the plants enough to release pollen from self-pollinating crops and carries some pollen between adjacent flowers.
The fan should be positioned above the canopy, angled slightly downward, and set to oscillate so that air moves across the plants from multiple directions throughout the day. The airflow should be strong enough to visibly move leaves and flowers but not so strong that it damages stems or desiccates flowers. A gentle breeze is sufficient for tomato and pepper pollination.
Fan-assisted pollination alone is rarely as effective as targeted hand-pollination, but it provides a baseline level of fruit set that can be supplemented with weekly hand-pollination sessions. In our trials, fan-assisted pollination produced approximately sixty to seventy percent fruit set compared to ninety to ninety-five percent with directed electric toothbrush pollination. The trade-off in reduced yield may be acceptable for growers who prioritize time efficiency.
Fan placement matters for disease prevention as well as pollination. Stagnant air around flowers promotes botrytis and other fungal pathogens that can infect senescing flower parts. A fan that maintains gentle air movement across the entire canopy reduces humidity around flowers and keeps the petals dry, which reduces the incidence of flower rot regardless of pollination method.
Diagnosing and Fixing Low Fruit Set
When fruit set is poor despite regular hand-pollination, the cause is almost always environmental rather than mechanical. The most common hidden cause is low humidity. Check your grow tent humidity at flower level, not at canopy level. The microclimate around flowers can be significantly drier than the general tent environment, especially if fans are blowing directly onto the plants.
The second most common cause is high temperature. Tomato and pepper pollen loses viability above 85 degrees Fahrenheit, and even brief temperature spikes during the light cycle can render an entire day's worth of open flowers infertile. Install a maximum-minimum thermometer at canopy level and check the peak temperature reached during the previous light cycle. If the peak exceeds 85 degrees Fahrenheit, increase ventilation, reduce light intensity, or adjust the light schedule to run during cooler hours.
The third cause is nutrient imbalance, particularly excess nitrogen during the flowering stage. High nitrogen promotes vegetative growth at the expense of reproductive development and can reduce flower production and pollen viability. Switch to a bloom-ratio nutrient formulation with lower nitrogen and higher phosphorus and potassium as soon as the first flower buds appear.
The fourth cause is inadequate light intensity. Fruiting crops require 400 to 600 micromoles per square meter per second at the flower level for adequate carbohydrate production to support fruit development. If your light intensity is below 300 micromoles, the plant may not have enough energy to develop fruit even if pollination is successful.
The fifth cause is a lack of beneficial insects or inadequate pollination frequency in crops that require multiple visits. For strawberries, a single pollination event may not cover all pistils. For cucurbits, a single pollen transfer may not deposit enough grains to fully develop the fruit. Increasing pollination frequency to daily for the duration of the flowering period often resolves these issues.
Pollination Troubleshooting Checklist
- Flowers drop without fruit: Check humidity (target 50-60%). Low humidity desiccates pollen.
- Misshapen fruit: Incomplete pollination. Increase coverage area or frequency.
- No female flowers: Too much nitrogen or too little light. Reduce N, increase intensity.
- Pollen not visible on brush: Low humidity or wrong time of day. Increase humidity, pollinate in morning.
- Fruit forms but stops growing: Temperature stress or nutrient deficiency. Check daytime peak temp and calcium levels.
Frequently Asked Questions
What time of day is best for hand-pollination?
The first two to four hours after lights-on is the optimal window for all crops. Pollen viability and stigma receptivity peak during this period. Pollinating later in the day produces lower fruit set rates.
Can I reuse the same paintbrush for different crops?
Yes, but rinse it with water and dry it between different crop species to avoid accidental cross-pollination. For home growers this rarely matters, but if you are saving seeds, cross-contamination can produce hybrid seeds.
How do I store pollen for later use?
Pollen can be stored in a sealed container in the refrigerator for three to five days. Place it in a glass vial with a desiccant packet to control humidity. Freeze pollen for long-term storage, but note that viability decreases by approximately ten percent per month in freezing conditions.
Do I need to pollinate autoflowering cannabis?
No. Cannabis grown for flower production is grown from female plants that are kept in a vegetative state and then flowered without pollination. Pollinated cannabis flowers produce seeds and reduce cannabinoid and terpene production. Hand-pollination is only relevant for cannabis if you intend to breed or produce seeds.
Why are my cucumber fruits bitter?
Bitterness in cucumbers is caused by cucurbitacin compounds that increase under stress, including poor pollination. If a cucumber flower is only partially pollinated, the resulting fruit develops more slowly and accumulates higher cucurbitacin levels. Ensuring complete pollination coverage reduces bitterness.
Can I use a leaf blower for pollination?
A leaf blower is too aggressive and can damage flowers, desiccate pollen, and spread fungal spores. Use an oscillating fan on low speed instead. If you need more air movement than a fan provides, you likely have a ventilation or airflow design issue that should be corrected rather than compensated.
How long after pollination does fruit appear?
Tomato fruit is visibly swollen within three to five days after successful pollination. Pepper fruit appears within five to seven days. Cucumber fruit elongates rapidly and can reach harvest size in ten to fourteen days. Strawberry receptacle swelling is visible within three to four days.
Choose Your Pollination Strategy
Match the approach to your grow scale and crop type.
The Small Tent Grower
One to six plants in a 2x2 or 2x4 tent. Hand-pollinate with an electric toothbrush three times per week. Monitor humidity daily.
The Mixed Crop Grower
Tomatoes, peppers, cucumbers, and strawberries together. Use different techniques for each crop type. Keep paintbrush, swabs, and toothbrush ready.
The Automated Greenhouse
More than twenty plants. Deploy oscillating fans for baseline pollination and supplement with targeted hand-pollination for high-value flowers.
The Lab's Final Analysis
Hand-pollination is not a complex skill, but it is one that most indoor growers learn only after losing an entire crop of tomatoes or cucumbers to flower drop. The mechanical act of transferring pollen is simple. The environmental conditions that make that pollen viable are the part that most growers get wrong. Humidity, temperature, and timing determine pollination success far more than the tool you use or the gentleness of your touch.
The single most important investment you can make for indoor pollination is a hygrometer with a minimum-maximum memory function. Place it at flower level and check the overnight low and daytime high humidity. If the low falls below forty percent, your pollen is dying before it reaches the stigma. Address this before changing anything else about your pollination routine.
The second most important investment is a timer that gives you precise control over your light cycle. Knowing exactly when lights turn on lets you schedule pollination sessions during the peak viability window. Pollinating two hours after lights-on rather than six hours after can double your fruit set rate for no additional cost or effort.
Start with one crop and one technique. Observe which flowers set fruit and which drop. Adjust humidity first, then temperature, then technique. Keep a log of pollination dates, fruit set rates, and environmental conditions. Within three grow cycles, you will have a personalized pollination protocol that produces consistent, high-quality fruit from every flower.
More from Crop Guides
Keep reading
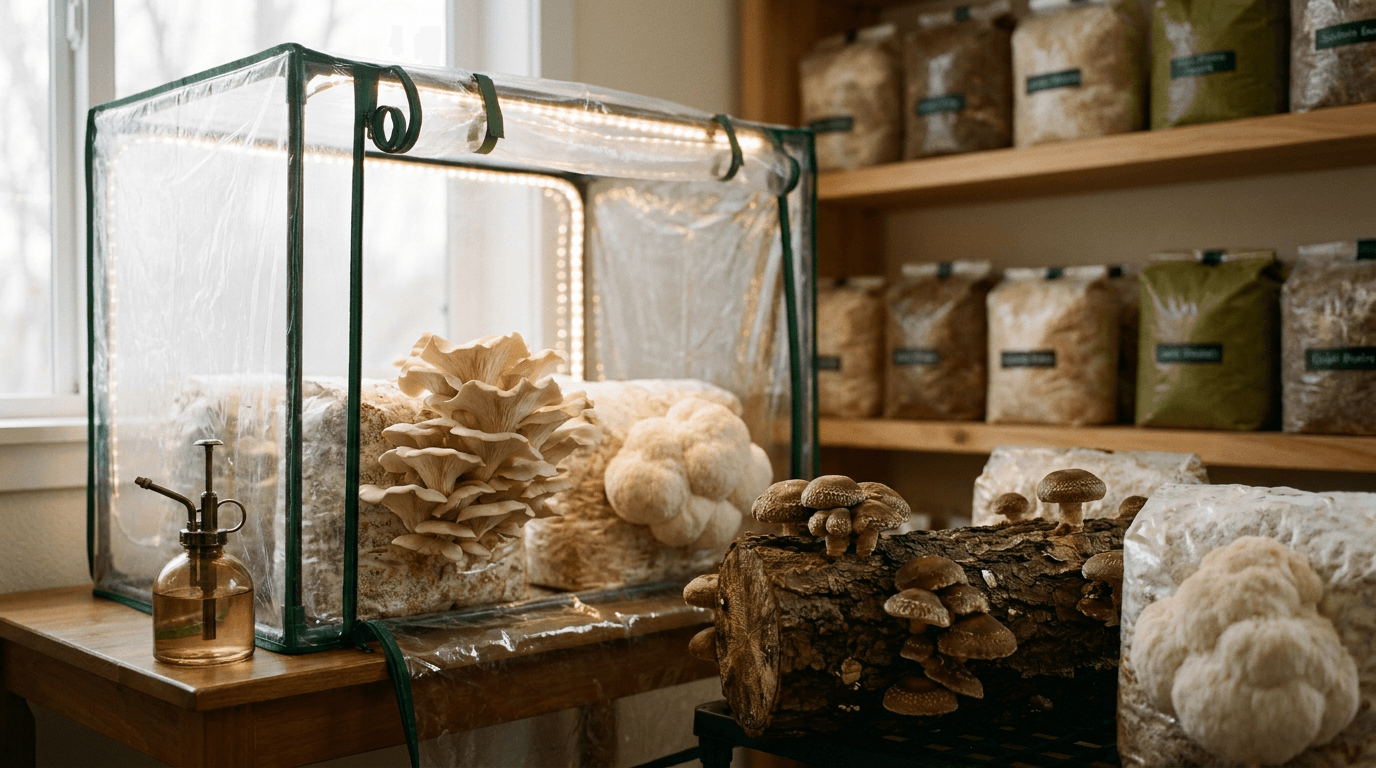
How to Grow Gourmet Mushrooms Indoors (Hydroponic Style)
Explore our comprehensive guide on How to Grow Gourmet Mushrooms Indoors (Hydroponic Style). Part of our technical series on specialized crop guides, this report covers everything you need to optimize your yield and maintain a healthy grow environment.
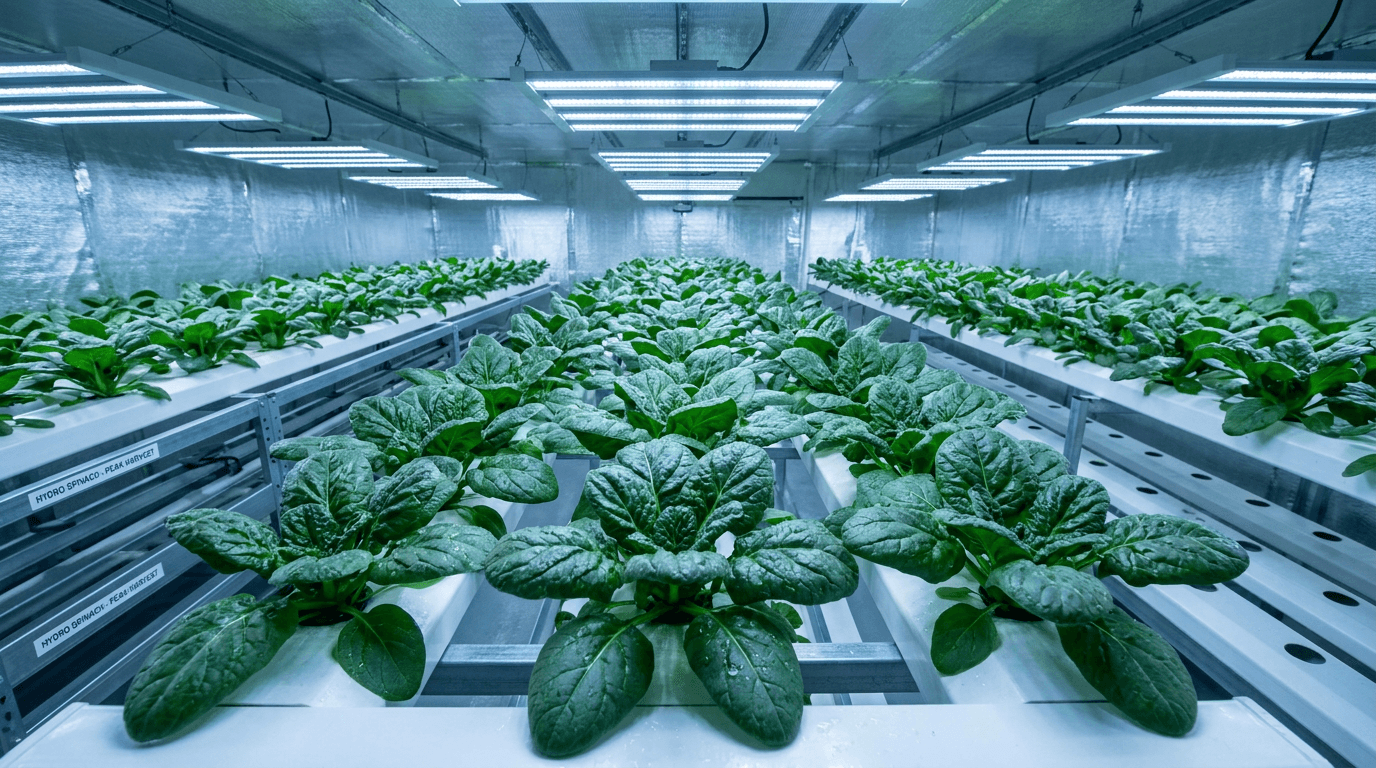
How to Grow Hydroponic Spinach Without Bolting
Complete guide to growing bolt-free hydroponic spinach indoors. Photoperiod management, variety selection, temperature control, nutrient strategy, and harvest techniques to keep spinach producing sweet leaves for months.
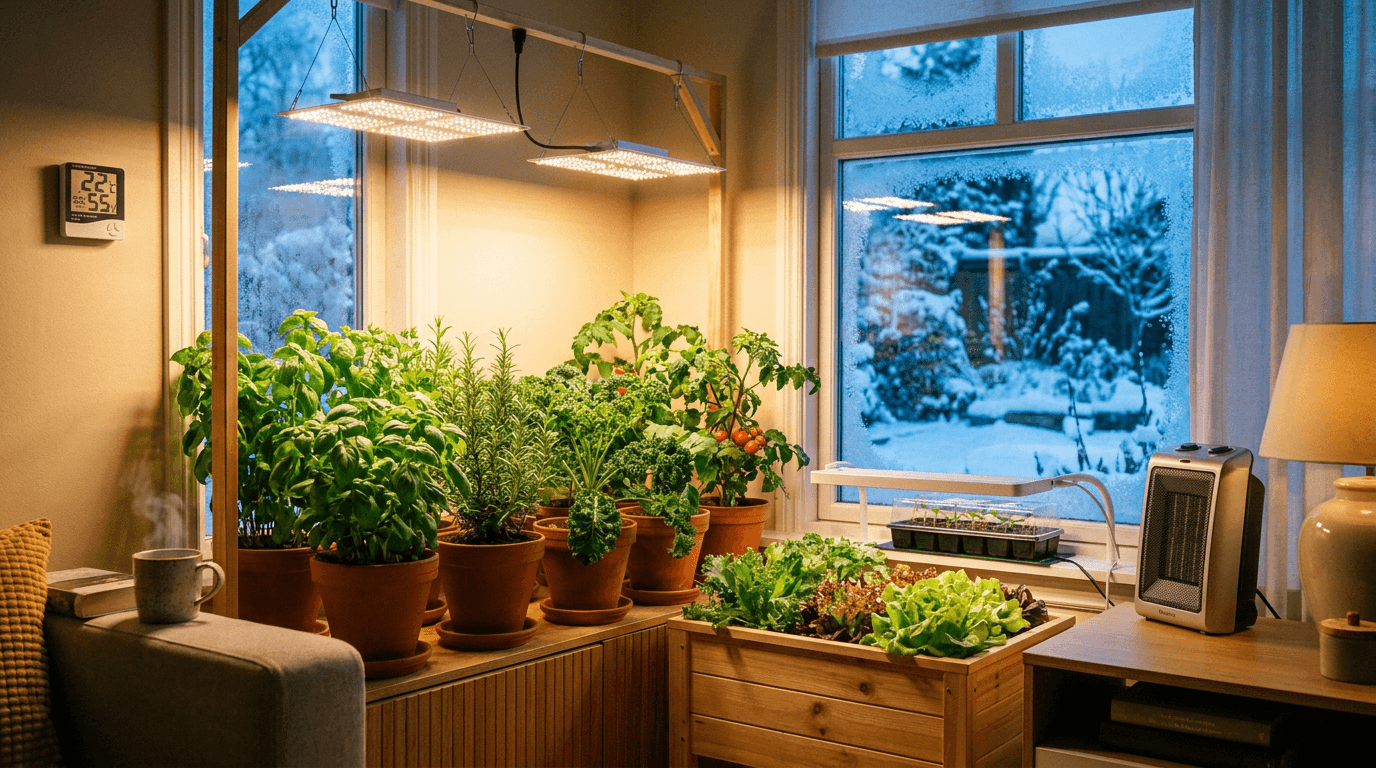
Winter Indoor Gardening: Keeping Your Harvest Alive
Explore our comprehensive guide on Winter Indoor Gardening: Keeping Your Harvest Alive. Part of our technical series on specialized crop guides, this report covers everything you need to optimize your yield and maintain a healthy grow environment.